(Sorry for the
uncropped borders and awkward spacing in this post! This the third time I've uploaded pictures to
this post only to have them disappear and I'm done tinkering with it! GRRRR...Blogger!)
I've had several classes to prepare for in recent weeks. I just finished "kitting" (yes, that's a word...at least in my circles!) for my December Graphic 45 card classes. I've been doing these classes monthly since March, with plans to continue on through next year. We've had a great time in class each month, and preparing the kits has certainly kept me busy! I'm not KITTING! (Couldn't resist that one...)
When I make kits, I plan for two days of work. Sometimes it takes less than that...sometimes more (depending on the number of kits) but that's a good average for most classes. That does not include writing instructions, which always takes me a few hours!
This time, since Bailey was home for Thanksgiving break, I decided to cut all of my paper at Memory Bound and bring it home to assemble. Even though she was super busy with projects all week, I wanted to be in the same room with her as much as I could! It's a Mom Thing. :)
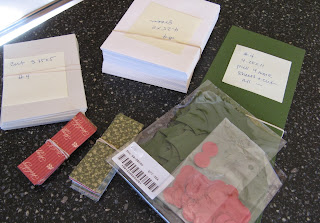
Here is the card set I'm teaching in December. We will be making six detailed cards in two hours time. In order to ensure that we complete our projects, many pieces need to be pre-cut.

I started with a very long list of everything I needed to cut. There is nothing like checking off things on a list! I have been known to write tasks on the list just so I can check them off!

After a few hours of cutting, I boxed it all up and brought it home. I know it may sound strange, but I love seeing all the cut pieces rubber-banded together!

In addition to the big bags I planned to assemble, I prepared smaller bags for dimensional embellishments like ribbon, twine, and buttons.


 After I finished assembling the cards, I stacked them for
each kit in the order I plan to teach them in class.
After I finished assembling the cards, I stacked them for
each kit in the order I plan to teach them in class.


 No "kitting" around: I'm looking
forward to two fun classes! :)
No "kitting" around: I'm looking
forward to two fun classes! :)
I've had several classes to prepare for in recent weeks. I just finished "kitting" (yes, that's a word...at least in my circles!) for my December Graphic 45 card classes. I've been doing these classes monthly since March, with plans to continue on through next year. We've had a great time in class each month, and preparing the kits has certainly kept me busy! I'm not KITTING! (Couldn't resist that one...)
When I make kits, I plan for two days of work. Sometimes it takes less than that...sometimes more (depending on the number of kits) but that's a good average for most classes. That does not include writing instructions, which always takes me a few hours!
This time, since Bailey was home for Thanksgiving break, I decided to cut all of my paper at Memory Bound and bring it home to assemble. Even though she was super busy with projects all week, I wanted to be in the same room with her as much as I could! It's a Mom Thing. :)
Here is the card set I'm teaching in December. We will be making six detailed cards in two hours time. In order to ensure that we complete our projects, many pieces need to be pre-cut.

I started with a very long list of everything I needed to cut. There is nothing like checking off things on a list! I have been known to write tasks on the list just so I can check them off!

After a few hours of cutting, I boxed it all up and brought it home. I know it may sound strange, but I love seeing all the cut pieces rubber-banded together!

In addition to the big bags I planned to assemble, I prepared smaller bags for dimensional embellishments like ribbon, twine, and buttons.

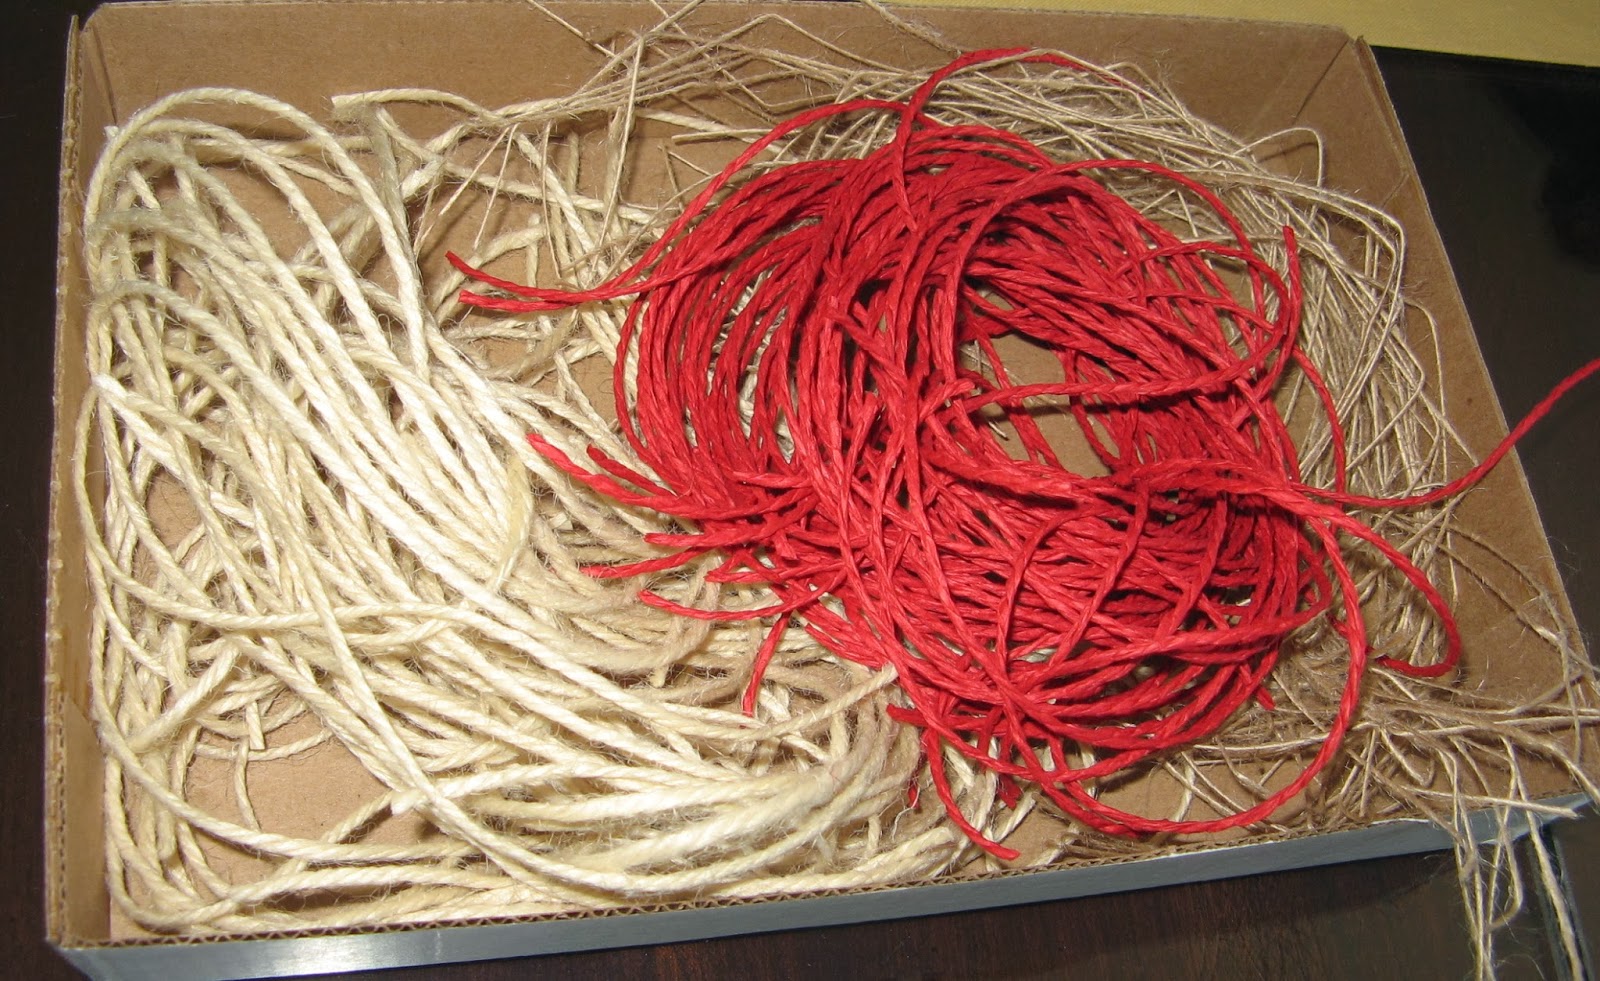
For obvious (CAT-RELATED!) reasons, I usually avoid
packing twine at home!
First I organized all the cut pieces by card. I
usually pack all the paper supplies for each card in an envelope, then stack
them in the kit in the order we'll make them in class.

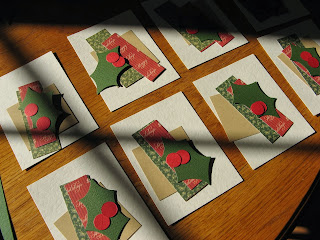
I gathered everything for each card and assembled
it. Here are the pieces for one of the six cards we'll be making in class.


After I pack all of one card, I stack them all
together. Here are three different cards, ready to go.

Meanwhile, I found a cat-free zone and finished the twine
bags!

A good old metal tray is very handy when working on
kits. The tray keeps everything corralled and provides a portable work
surface which can easily be lifted away from kitty paws. In this case, I
was able to carry it
over to the couch so as to sit very close to my daughter while she
worked on
her projects! :)


I rubber-banded them together and tucked them into the
large bag, along with the twine bag and a few other supplies.

Here's one of the boxes of completed kits! I get excited
when I see them all ready to go! It's kind of like getting a new box of crayons
or markers. LOL

Janet
1 comment:
Those boxes remind me of my box of supplies for this year's Christmas card - I have cut everything I need for 30 cards (240 pieces!) and stacked it all in a box - now I just need to put them together!
The only thing wrong with using a box (and as a fellow cat lover you'll relate), when I had the box up on a chair after putting in all my parts... Tawnee decided to jump in and knocked everything to the ground - spilling the contents everywhere!
Cats. ;)
Post a Comment