Showing posts with label Classes. Show all posts

19 September 2018

Santa's Workshop!

The past few weeks have been super busy around here getting ready for Christmas card classes -- kind of like Santa's Workshop, except I'm the only elf! LOL
 

This season I will have three card classes, each offered two or three times starting in October -- which is just around the corner. So the month of September started out as "Kit Central", as I needed to get started on kits for two of the classes. We have a big dining room table so if I work on kits at home, I usually spread them out there.

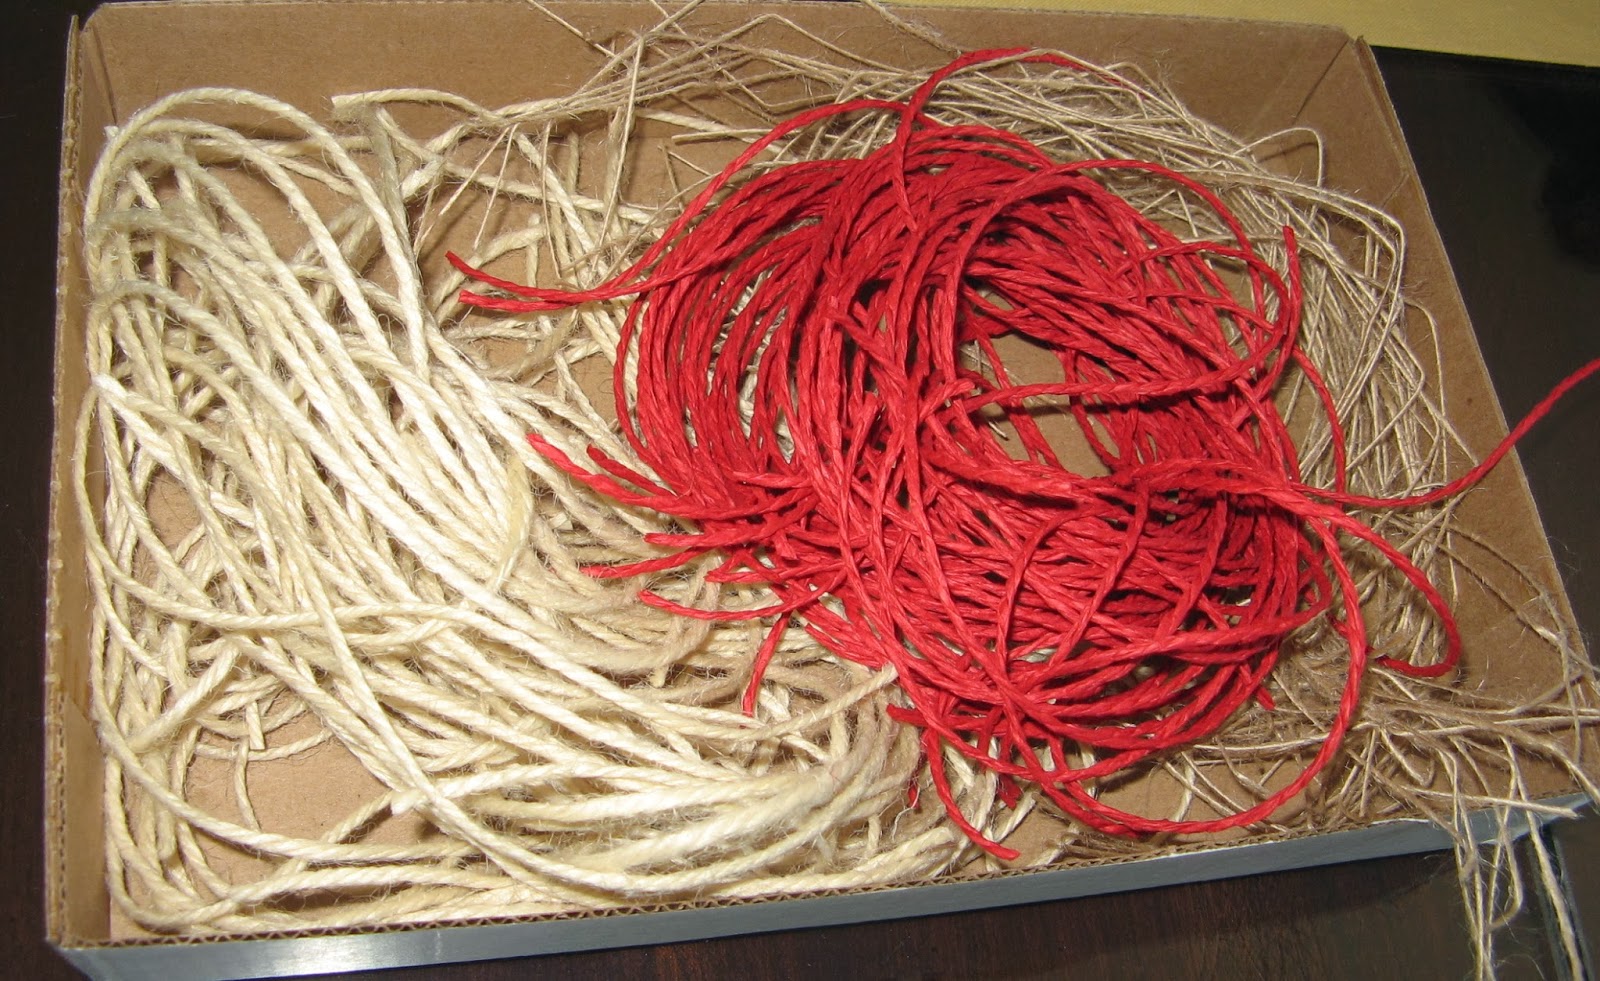
 When they were finished, I had some help boxing up my scraps!
 

 At the same time, I had another class in process in the kitchen. Somehow I forgot to take a picture of that activity,  except for the ribbon cards. I had to work fast while Lily slept. She loves when I wind ribbon -- and especially twine!

 I almost never work on kits in my craft room because I don't have a large enough table to spread everything out, but since the dining room and kitchen were already occupied, I had no choice but to creep into that area! Soon I'll be finishing up the die cutting so I can get these kits packed next week. 

This past week or so, I've also been doing our store's 8-page holiday newsletter. It's finally off at the printer now! I'm always excited to see it...but nervous, too!

 'Tis the season for crafty projects!😄

jp

18 February 2015

Just Kitting!

  One of my tasks for the past couple of days was to make kits for an upcoming mini-album class. I wasn't quite sure how this particular kitting session would go, but things went very well this time. (Trust me, that is not always the case!) 

I think the key is pre-cutting everything FIRST, then assembling later. I cut all of the pieces at the store and brought them home to assemble. I counted almost 40 pieces for the album itself, plus 27 pieces in the embellishment bag. YIKES! 

 Call me weird, but I love seeing the different project components all ready to go. It's like having all of your ingredients pre-measured and organized before you start cooking! (That is only in my dream kitchen, of course!)

With a mini-album, I lay out the pieces from the back to the front starting with the back page, then rubber-band everything together. This makes it easy for the student to follow instructions, with pieces in the order they're needed. 

  With this type of kit, I always worry that I'll miss something and have to go back and insert it in the proper place -- usually deep in the middle of the project! But this time I was lucky. The piece I missed was at the very back! YAY!

More pieces...hoping I didn't mis-count!

I stopped to emboss a few scalloped pieces...

...then added a few more pages...counting, counting...
 

The piles were getting taller, and I hoped I hadn't missed anything! It's the WORST THING when you get to the end of your materials and have one piece left...or find yourself short a piece. Luckily that did not happen this time!

Finally, the end was in sight!

Pages and large elements, all rubber-banded and ready to insert into the kit! YAY!


Next task: Finish up the small bags.

This project was in the home stretch! 

I just bought a new blade for my Silhouette and wow, what a big difference it made! The shapes cut so cleanly! I quickly finished up my Silhouette cutting and added the pieces to the bags and...

...the kits were done! YAY!
Back when I was working in corporate HR and facilitated performance assessments for work teams, my own test results labeled me a "concluder-producer", which means I like getting things done. That's definitely an accurate assessment, because I absolutely LOVE finishing up big projects! When it's going well, I actually do enjoy the process!
Now on to the next big project!
jp


01 November 2014

Just Kitting!

I have spent a good part of the last two weeks making kits for my November and December classes. Mercy! I usually make kits for only one class at a time but this time I needed to work on three simultaneously. I had kit stuff EVERYWHERE!

In boxes in the dining room...

On the kitchen table...


Even on the chairs at Memory Bound...LOL

And in my craft room, where Tinsel discovered the Silhouette Cameo for the first time. She was CAT-tivated by it!

Thankfully, with Tinsel's supervision, I got it all done. 
WHEW! Happy day!

08 September 2014

Silhouetting for Classes

In the past few weeks I've been prepping for several classes. Having taught for many years, I've pretty much had my routine down...that is until I bought my Silhouette! With my August classes, I started incorporating Silhouette cuts into my class projects. Of course, I still love and use my Big Shot for many of the pieces I use on my cards. The Silhouette just provides me with more options!

Because of the Silhouette cutting, I've had to add a few steps to my normal class prep routine. The first thing I need to do is format my cut files and save them an SD card so that I can take them to Memory Bound and do the cutting on our store machine. 

This process has worked very well, especially now that my friend Katie suggested using two cutting mats. This is a little like using two cookie sheets when you're baking. While one batch of cookies cools, you can put a second batch in the oven. Using two cutting mats allows me to "scrape" off my cuts from the first mat while sending the second mat through the machine. And once the machine starts cutting, I can keep working on other parts of my kits. Minimal time wasted!

I love the little coffee cup...

 ...with steam! For someone who is used to doing Big Shot die cutting one or two at a time, it is so exciting to be able to cut an entire SHEET of pieces with the push of a button.


 For this class, I also cut mason jars with outlines and lids. This is a very fun and versatile cut file. 

  You can see the cup and jar on the completed cards.

I'm so happy I bought the Silhouette. It gives me many additional design options and, with a little more tweaking to my routine, I hope it will help me be more efficient, too!
jp

04 June 2014

What's On Your Workdesk? Wednesday

 A number of craft bloggers have been posting photos of their current craft projects under the heading of "What's on Your Workdesk? Wednesday". There is usually something happening on my work tables...but I usually forget to share on Wednesdays! Technically you're supposed to link to other blogs but I'm skipping that step today. Click here to visit the blog of the crafter who started this fun weekly challenge!

This week I've been working on kits for two upcoming card classes. This particular card set necessitated a crazy amount of die cutting. And I do mean crazy. Here are just a few of the pieces for three of the six cards. Merciful me.


I cut these window cards just by eyeballing them. The good (but kind of scary!) thing was that when I stacked them, they all lined up perfectly. Whew!

With my kits assembled, I cleaned off my tables and now they're ready for the next set of projects! 
jp

01 December 2013

Kitting Around!

 (Sorry for the uncropped borders and awkward spacing in this post! This the third time I've uploaded pictures to this post only to have them disappear and I'm done tinkering with it! GRRRR...Blogger!)

I've had several classes to prepare for in recent weeks. I just finished "kitting" (yes, that's a word...at least in my circles!) for my December Graphic 45 card classes. I've been doing these classes monthly since March, with plans to continue on through next year. We've had a great time in class each month, and preparing the kits has certainly kept me busy! I'm not KITTING! (Couldn't resist that one...) 

 When I make kits, I plan for two days of work. Sometimes it takes less than that...sometimes more (depending on the number of kits) but that's a good average for most classes. That does not include writing instructions, which always takes me a few hours!

This time, since Bailey was home for Thanksgiving break, I decided to cut all of my paper at Memory Bound and bring it home to assemble. Even though she was super busy with projects all week, I wanted to be in the same room with her as much as I could! It's a Mom Thing. :)

 Here is the card set I'm teaching in December. We will be making six detailed cards in two hours time. In order to ensure that we complete our projects, many pieces need to be pre-cut.


  I started with a very long list of everything I needed to cut. There is nothing like checking off things on a list! I have been known to write tasks on the list just so I can check them off!

 After a few hours of cutting, I boxed it all up and brought it home. I know it may sound strange, but I love seeing all the cut pieces rubber-banded together!


 In addition to the big bags I planned to assemble, I prepared smaller bags for dimensional embellishments like ribbon, twine, and buttons.


For obvious (CAT-RELATED!) reasons, I usually avoid packing twine at home!


 First I organized all the cut pieces by card. I usually pack all the paper supplies for each card in an envelope, then stack them in the kit in the order we'll make them in class.


 I gathered everything for each card and assembled it. Here are the pieces for one of the six cards we'll be making in class.


 After I pack all of one card, I stack them all together. Here are three different cards, ready to go.


Meanwhile, I found a cat-free zone and finished the twine bags!


  A good old metal tray is very handy when working on kits. The tray keeps everything corralled and provides a portable work surface which can easily be lifted away from kitty paws. In this case, I was able to carry it over to the couch so as to sit very close to my daughter while she worked on her projects! :)


 After I finished assembling the cards, I stacked them for each kit in the order I plan to teach them in class.


I rubber-banded them together and tucked them into the large bag, along with the twine bag and a few other supplies.

Here's one of the boxes of completed kits! I get excited when I see them all ready to go! It's kind of like getting a new box of crayons or markers. LOL


 No "kitting" around: I'm looking forward to two fun classes! :)

Janet


10 August 2013

Busy Hands...

 This is a strange and sad time for me. It's Iowa State Fair time, and I am not there. Normally by this time my parents (or in recent years, just my dad) would be camping at the fair and immersed in all that the fair brings -- giant cinnamon rolls for breakfast, livestock barns, and afternoon talent shows. It took me several years to cope with the fair without my mom. Now without my dad, I'm not sure I can face it all this year. We'll see.

 In the meantime, I am glad to have plenty of work to keep me busy. In addition to continuing with my estate sale prep, I've been teaching classes, making kits, and designing cards for 4th quarter classes at Memory Bound.

 Last week I made 40 kits for my Graphic 45 - August card set, one of my favorites so far! This was a full-day task, but I was glad for it as it kept my mind occupied. I'll be teaching the second of these two classes next week.


 This weekend, the first weekend of the fair, I planned plenty of activities to keep my hands busy and my mind focused. I've been creating three new sets of cards for October, November, and December. I swear, there is no one who has a messier work space than me while I'm working on a project! This was what "November" looked like. Then I cleaned it all up and started on December. :)
 

I love my little wheelie cart from World Market. I don't think they sell this kind now, but the last time I was there they had something similar. It fits under my table and goes wherever I need it.


 Right now, I'm finishing up my December card set. I'm grateful for tasks I can immerse myself in, especially right now.

 Having been through this before when I lost my mom, I know one of the best therapies is to stay busy. It's not a way of "ignoring" what's happened (if that were even humanly possible), but it is a way to cope until the pain eases just a bit...and fair time ends.
jp