Showing posts with label scrapbooking. Show all posts

20 June 2021

Memory Keeping: Organizing Slides


Have you ever put off something because it just seeemed too daunting? That's how I've been feeling about my boxes and tubs of family slides. What's on all those slides? Do I really need them? It seemed easier to just leave them in the tubs!

But, as seems to be the case lately, one thing led to another. In working on my personal school years albums, I knew I'd have to dive into those slides to locate school-related images. There was no turning back!

First, some context (I'm always all about context):

When I was growing up, we took a lot of slide film, much more so than camera film. We had a projector and screen that I absolutely ADORED setting up in the basement. I "curated" slide shows for my parents, cousins, neighbor kids, or anyone else I could get to watch. Sometimes I even set up the record player so we'd have music to go along with the presentation and spice up my narration. As soon as we'd come home from a vacation, I'd start planning our slide show.

In those days, I'd organize the slides into circular trays then meticulously write a caption for each one on the lines provided on the sides of the box. I started doing this in elementary school and continued through high school. As you can see, I truly was born to be a memory keeper!


Fast forward to 2013: After my dad passed away and I had empty my parents' home to sell it, my first priority was to find all of the family photos and slides. Sure enough, the slides were just where I'd left them...but more had been added since I left home many moons ago -- boxes and boxes. Since I hadn't been there to organize them, they were in a big mess.

 I carefully emptied the slide trays from my childhood and kept the lists to go with each one. I packed everything in tubs and brought it home.


Several months ago I bought some packages of slide sleeves, knowing this was a project that I'd eventually have to tackle. I didn't know if I'd like them but I DID know that sleeves would surely be better than broken rubber bands! At least sets of slides could be kept together and safely preserved.


So here's the process I used to get this mess of slides under control: 

1) Physically organize the loose slides into archival sleeves, sorting by date/subject

2) Digitally organize and label the slides that have already been scanned

3) Decide which additional slides to have digitized and drop them off at a local shop

4) Print and add selective images to my scrapbooks


Physical slide organization:

The first step was to group sets of slides together so I could figure out what they were. Although slides are obviously cumbersome to work with (you can't see them without a light source), there are two things that make them a bit easier than photos: 

1) Unless they're in a plastic housing, most slides are numbered with an imprinted or stamped number
2) Most slides have a date on the cardboard -- this is the "developed on" date, NOT the "taken on" date but it's a whole lot better than no date at all!

I slogged my way through mixed up tubs and tiny boxes of slides, putting them back in their proper sets by date and then into numerical order. I grouped them temporarily with rubber bands just to keep them corralled. Trust me, don't use rubber bands for the long haul. They'll break and your slides will get all jumbled together. Slide sleeves are the way to go.

 As I worked on this project, I felt the joy of newfound "ORDER" washing over me!
 

Once a sleeve was filled, I could hold it up to a light source (I used a blank MS Word document on my desktop computer) to see 20 slides at once. This makes it easy to pull out any duds and see if they're slides I want to have scanned.


To look at the slides more closely, I am using a small handheld slide viewer. My parents had a larger one (WHY, OH WHY DIDN'T I KEEP IT?) but this one is getting the job done. We do have a slide projector but unfortunately the bulb was broken and will need to be replaced.


 Digital slide organization:

When I first brought all of our family slides home a few years ago, I took many batches in to be digitized.

When you have slides digitized, they'll come back to you in a jpeg format. My developer used a numbering system for each set of slides but I'd never spent time on labeling the files. This was my next task.

  I used a consistent format as much as possible, naming the folder with the date and subject (1975 California Trip), then each jpeg file with the labels I found on my slide list (1975 California Trip - Disneyland). I'm not ready to scrapbook those years yet but it's great to know that those images are digitized, findable, and ready to go.


  As it happens, I have a couple of my diaries from my childhood years (truly hilarious reading) and some entries correspond to family vacations. I have to give a shout-out to my nerdy childhood self for writing down everything we did and saw on some of those trips, because now I can identify the California "Trees of Mystery" and other points of interest along the way. It has been fun to read my diary and look at the slides! I'll be sure to include those diary entries when I eventually scrapbook those trips.😎


  Decide which slides to digitze:

Will I digitize each and every slide? NO! It's not cheap to have them digitized so I will be selective.

Will I print and scrapbook each and every slide? NO! To save space in my albums and save time, I'll probably make a lot of photo collages using the slides, adding digital labels to the photos as I go. It's quick and easy to print off an 8.5x11 collage and slip it into a sleeve for the scrapbook. Collages work great for making the best of "less than wonderful quality" images, too.

With all the slides in sleeves in a binder, temporarily labeled with sticky notes, I'll be able to go through them and decide which ones to have digitized. Since they're already in sleeves, I'll just take them to the scanning shop intact. This will ensure that they're scanned in the right order and placed in labeled folders. 


So circling back to what started all of this, one might ask: Did I find the school-related slides I knew must be hiding in those boxes? 

Yep, I did! First day of school pictures for several years, band, prom, homecoming, and much more. As soon as I get them digitized, I'll be able to print them and slip them into my school albums.

But all in all, there weren't a ton of school photos in our family's slides. What I did find was a host of precious images of camping trips, fishing adventures, vacations, birthday parties, pets, and so much more. In spending so much time with these images, I'm left with an overwhelming feeling of gratitude.


So yes, it's absolutely worth the time to tackle this daunting project. In retrospect, it wasn't nearly as bad as I thought it would be. Now I feel SO MUCH BETTER about my slide situation!

And if my parents could see me STILL organizing slides, I know they'd be smiling! I haven't changed a bit. 😀


08 May 2021

New Project: My School Albums

 Although I may not have blogged much about it lately, I have been doing a LOT of scrapbooking over the past year. I've worked on my chronological family albums (still not caught up but at least I'm withing striking distance of Bailey's college graduation) as well as my heritage albums.

With my heritage albums, I'm working my way from the oldest photos to the newest, and in that vein I am now at the point where I've scrapbooked my parents' wedding and early life. I'm almost ready to be born! hehe Working on my heritage albums has been the most interesting and rewarding scrapbooking I've ever done, hands down. I'm so happy to have completed many albums so far with more in the works.


 As if those two ongoing scrapbooking projects weren't QUITE enough, I was recently inspired to jump into another album project that's been on my list since I started working on the heritage albums: My own childhood and school years. Katie, a super talented gal who works at the store where I teach, recently shared her own boys' school albums and they were just so succinct and perfect that I felt inspired to make albums of my OWN school years.

As of this writing, I've worked my way from Kindergarten through Fourth Grade and let me tell you, I underestimated how fun and even cathartic this process would be. I've thought about why that may be and here's what I've landed on: I'm actually scrapbooking my OWN memories and activities. By contrast, the events I've included in my chronological albums are often my daughter's activities; for my heritage albums, many times I only have photos and basic information with no memories at all. So with this project, I have the chance to reflect back on my childhood years. It's gratifying to put my own photos, school papers, and memories together in one album -- instead of languishing in a box in the basement!

 I am so grateful to my mom who kept all of my school papers and photos -- and I DO mean all. But I wish we'd taken the time to date the papers and photos. I have consolidated my school papers into a couple of tubs but they are largely undated. Of course, I won't keep them all but the finicky side of me has to have some semblance of order before deciding which ones to discard.


I'm sure I'll end up with too many school papers to fit into the scrapbook itself, and many are oversized anyway. If I could pare it down to a smaller, organized box, I'd be happy with that.

Awhile back, I organized my school pictures in a small album with sleeves, so it's been easy to pull out a particular year of photos, pair them with the memorabilia for that year, and make a few pages.

 Here's a photo taken on the first day of Kindergarten. My mom saved the picture I'm holding, too.


She kept a small spiral-bound school album for about three years then gave it up. Inside the binder I found a few treasures for those years.

 
 For each grade, I'm making a 12x12 "cover" page with my school photo, grade, and dates. I'm also making a 12x12 facing pocket onto which I can adhere the class photo, teacher name, and anything else pertinent. The deep pocket is a great place to put those loose papers so they can be pulled out easily.

Mom even kept my nametag so I had to include it, too.


I have fairly detailed memories from my elementary school years so I'm planning to type them up and add them to each year. I even found my mom's old calendars and my diary from those years which is a great way to jog my memory!

 I recently made a Fourth Grade page about my childhood love of reading. I still have all the books I ordered through the Weekly Reader program, so I took pictures of them to include on a page. It's so much fun to think about what interested me back then. Truthfully, I'm pretty much exactly the same as I was in my childhood!


I'll be sure to share more photos as I go along but so far, this has been a thoroughly enjoyable project and one that I'll be really glad I took the time to put together. If you're thinking about starting your own school album, by all means DO IT!

Thanks for stopping by!


24 October 2020

Time to Re-Group

 Blogging friends -- if you are still out there! -- it is time for me to re-group! The store where I teach stopped offering classes in mid-March when things started shutting down. Since then, I've been busier than ever making kits to sell online and am just now truly coming up for air.  Our dining room (and my craft room) has pretty much looked like some version of this since March.


Recently, I made a list of all the projects I've completed since this thing started and totalled it up. No wonder I feel like my head is spinning! I have designed 23 different kits (cards, scrapbook pages, tags, treat bags, etc.) and made 1020 kits to sell since March. That has kept me crazy busy with almost no let-up but I'm thankful I love what I do and can contribute in some small way!

But now... I've finished up all of my Christmas-themed kits, which is a huge relief. Christmas is our busiest time and is always a huge push for me. Now I'm truly enjoying a bit of free time to re-group.

Over the past few months, I've worked sporadically on my family history albums, trying to carve out a few hours here and there. I am pleased to report that I'm making noticeable progress! I've worked my way up through the generations to my parents and am now working on their section of the album. 


   Many moons ago, I wrote about setting up Life Binders for my parents and grandparents, an idea I picked up in a genealogy class. These 3-ring notebooks are just a temporary holding place for memorabilia that might eventually make it into the scrapbook. It was a Life Binder that helped me save the wedding invitation in the photo above plus a related newspaper article and a lot of memorabilia from my parents' lives so I could find it when I was ready for it.

I've been inching my way through these binders and have emptied my grandparents' binders and now my mom's, placing the memorabilia into an appropriate section of the family history binders. It's been a long time coming and it made me kind of giddy to empty another binder! Seriously, if there is one piece of advice I could offer anyone just starting to sort through a mountain of family history, it's this. The Life Binder will be your anchor.

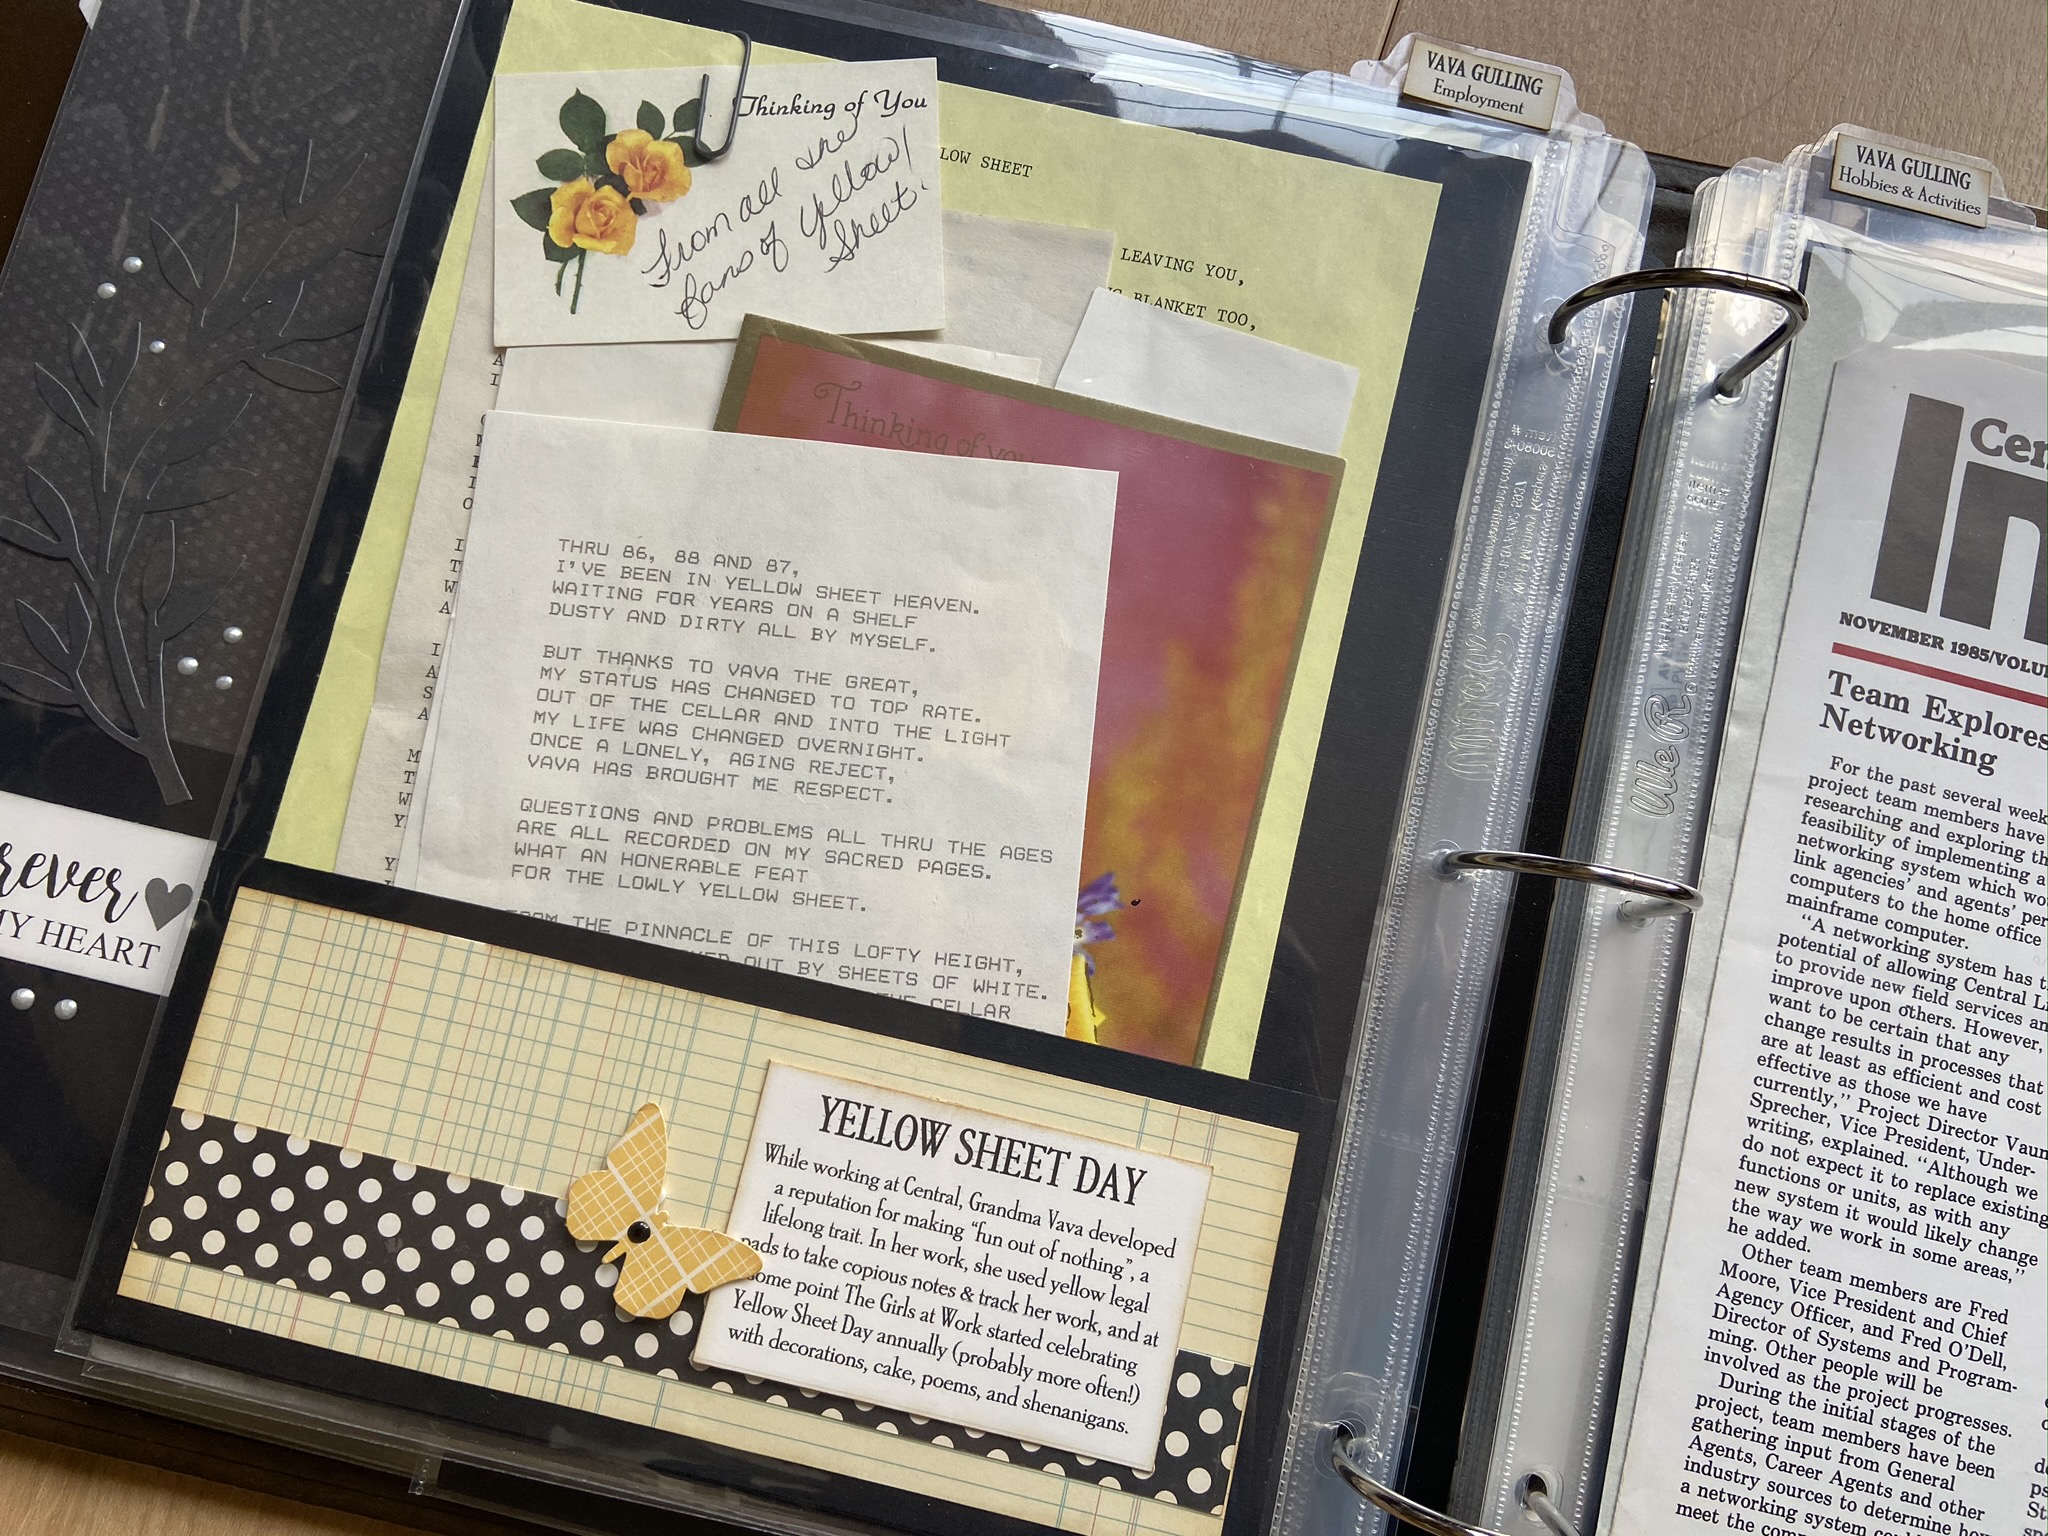
Using the information from my Life Binders, I set up sections in my family history binder for highlights of my mom's employment...


...and also her many hobbies. In later years she enjoyed painting so I found a way to incorporate some examples of her artwork. Of course, I have many of her actual canvas paintings in various places around the house.

I still have several sections of my dad's Life Binder to work through, but I'm now  ready to start working my way through the photos I have from my parents' first few years of marriage, my birth, and beyond.  Although working on my parents' section of the album has been sad, I am really glad to get started documenting their lives. And I am excited to work on my own story. I've often wondered if I'd ever make my way to 1961 when I was born...and suprised to say that I'm almost there! 

So here's to re-grouping...coming up for air...and tackling a few of these important projects on my list.

Stay well, friends.
Janet


20 April 2020

Catching Up on Scrapbooking: Setting Up for...2014!

Boy, if you're following along with my scrapbooking CATCH-UP journey, it must be about as riveting as watching paint dry. Surely no one has plodded along quite this slowly.

Still, I'm happy that I'm at least moving in the right direction -- as opposed to not moving AT ALL, as was the case for many years.


Over the years, I've learned that I'm very much a PROCESS person. I'm always interested in the process, or steps, someone employs to reach a particular goal. That's why I like to occasionally share my scrapbooking process, with the possibility that it might help someone else on a similar journey.

Each time I start working on a new year of scrapbooking, I look at three different areas:

1) PAGES already made, if any
2) PHOTOS to be printed
3) MEMORABILIA to be included

--- PAGES ---
First, I took a look for any pages I've already made which might be stuck in a pile somewhere. Sure enough, I found four. And four pages are better than none! So into a brand new album they went. I recently purchased three additional binders at Memory Bound using some birthday and Christmas money so I should be in good shape for awhile.


For both of these pages, I have corresponding memorabilia (a concert program and a newspaper article) to add to the album.

--- PHOTOS ---
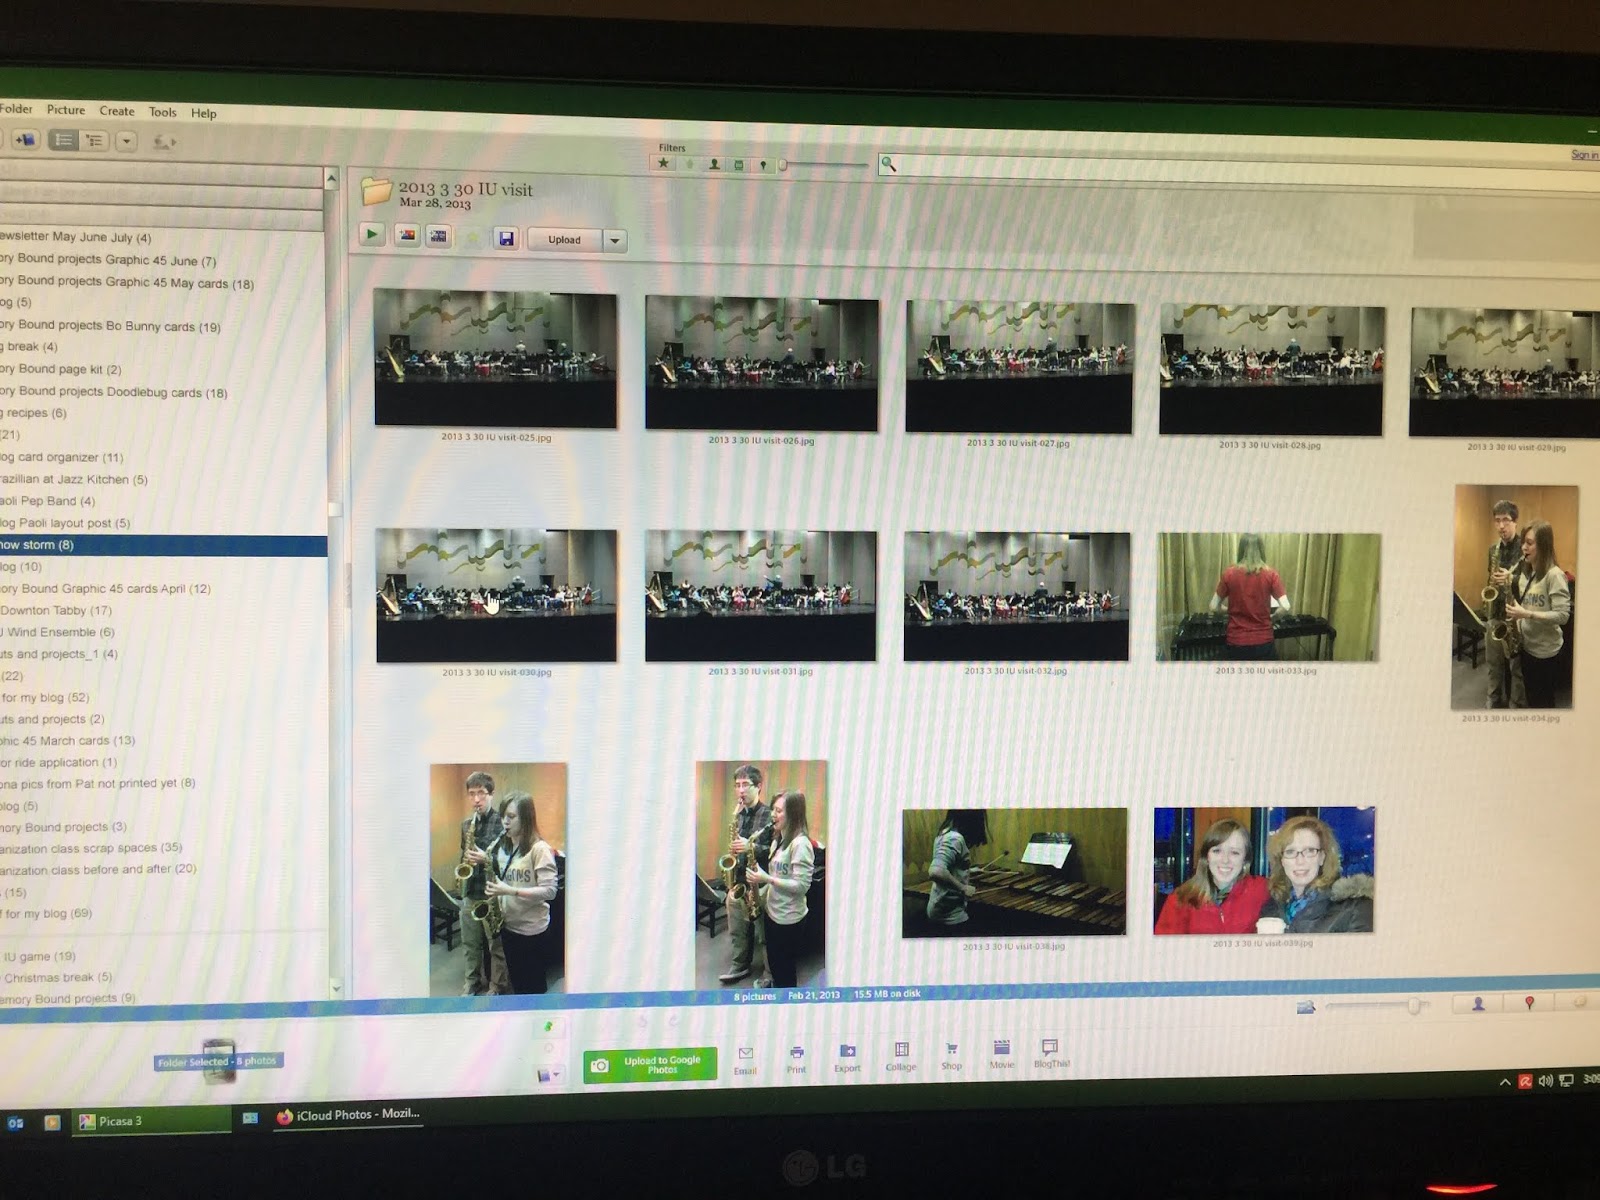
Next, what shape are the photos in? A quick look at my digital photo files told me that my 2013 photos were in a real mess. In May of that year, my dad passed away following a brain biopsy and a couple of weeks in hospice. While I sat with him in the final days, I felt like my life was in free-fall.

From that point through the remainder of the year, many things fell by the wayside. I spent almost all of the summer sorting through a lifetime of my parents' belongings as I prepared for an auction that fall. It's still really hard for me to look at the photos I took of that process, and I'm not planning to scrapbook them as part of the chronological family albums I'm working on right now. (They'll eventually go into my own family history albums, so I'll print them when I'm ready to tackle that project.) 

Still, in order to parse out the photos I DO want to include in my current scrapbooks, I had to sift through them all. This was not an easy process and took multiple attempts to work through them all.


But it wasn't all miserable. I ran across a number of fun pictures while moving files around. These were images I'd completely missed because they had been mislabeled.

There were several "cat shaming" photos... (The actual photos are much better than these screenshots!)


There were all the photos (mostly outtakes!) from my Downtown Tabby photo shoot. :) Sweet Tinsel was such a good sport.


There was even a picture of me in a class with a customer! There are almost no pictures of me teaching so I was happy to find this one. (This is a screenshot but my hair still looks quite big in the actual photo!)


Finally, I got through a good chunk of the year. I printed off a few "lower priority" photos (such as my garden or flower pictures) as collages. This is a good way to fit a lot of pictures in an album without taking up any space at all. Highlights in the album are good enough for me, as I can always refer back to the digital photos. At some point, it would be fun to make a garden album but that will have to wait!


Finally, I made a list of the photos I needed to print, and uploaded 10 months' to Walgreens for printing. That just leaves the holiday season to sort through. Compared to other years, there aren't a ton of photos to scrapbook for 2013 which is probably a really good thing.


--- MEMORABILIA ---
Finally, I dug out the folders of memorabilia I had stashed away from that year. I slipped many items into sleeves and put them into the album. As I finish the pages, I'll just intersperse them all together in the right order.


Now that I have a better handle on the photo situation, I should be able to finish up this year of scrapbooking fairly quickly. 

At least that's my plan! Fingers and toes crossed!
jp


11 April 2020

Catching Up on Scrapbooking: Ready for 2013!

Well, it's been a long time since I've reported on my scrapbooking progress. I'm happy to report that 2012 is done and in the books...or scrapbooks, I should say!


The year 2012 brought with it a number of events I'd dreaded scrapbooking. My dad passed away unexpectedly in May 2013, so 2012 marked the last holidays and the last Iowa State Fair we'd spend with him. *SIGH* Working on these pages has been a bit of a long, slow slog. These photos are still really hard to handle, so I'm glad to have the pages done.


I hadn't printed many pictures for the year, so I've been batching and uploading a few months at a time to Walgreens. The quality has been good and I've been able to find coupons which make the price very reasonable. Walgreens is just up the street from our house and generally the prints are available in an hour or so which is great.

Of all the 2012 photos I had to work with, the fair pictures were the hardest. I started by sorting them into logical groupings. I wanted to fit as many as possible into pockets but reserve my favorites for traditional pages.


 As always, I relied heavily on pocket pages to help move the process along. If you're not using pocket pages in your scrapbooking, you definitely should! You can include many more photos than you'd otherwise be able to fit onto a traditional scrapbook page.
 
I store my pocket pages (and assorted full-size sleeves) in an extra 12x12 binder which, of course, will eventually be used for completed pages. The idea here is to use up all of these sleeves!

 Admittedly, using pocket pages can be a bit like fitting together a puzzle. After I sort my pictures into logical categories, I do a rough count of the number of horizontal and vertical prints. My method is pretty simple: If I have more horizontal pictures, I'll use a horizontal pocket page and the remainder of my photos will go on a traditional page next to it. The challenge generally comes on the BACK side of the pocket page, when you need to figure out which pictures to fit into the same pocket configuration. But if you're flexible, you can always make it work.


There are a few page designs that have both horizontal and vertical slots. This is very handy! Here I cut a few down to 3x4 which allowed me to fit 2 horizontal pictures into a vertical pocket. 


In this case, I used the extra space for a journaling block.


On this page, I cut 2 ice cream cone pictures into a vertical format and fit them into a horizontal slot. This breaks up the "blockiness" of the page and allows you to squeeze in an additional picture. And that's important when you're scrapbooking!


Before printing the 4x6 photos, I also set aside some to make collages (seriously, how many pages of sheep pictures does one need?). You can print collages through Walgreens or any other developer but I print mine at home. By adding text directly to the collage, I don't even have to worry about journaling. It can slip directly into a sleeve.


 During one of my recent visits to Memory Bound, I bought a layered die cut to use for the first page of this fair section. But I was in a hurry (pandemic, you know!) and didn't think to buy any coordinating or themed fair papers. So when I started working on these photos, I realized I was in a bit of a pickle. I found a 6x12 piece of striped paper that I liked and decided I'd make it work for this section by stretching it as far as possible. Luckily I found solid-color cardstock in my stash to coordinate with it!


 I'm generally ok with just a little bit of patterned paper, so this method worked just fine for me.


I cut narrow strips to use here and there and filled in with cardstock to make it all look (hopefully!) like I'd planned it that way. HA! 

This was the last year we camped at the fair -- and the last year that Bailey attended due to her college and summer schedule. So I wanted to put a little more emphasis on what camping has meant to me over my lifetime.

I printed a couple of photos (they're actually slides!) of me camping as a little girl and added them to this section.


 To speed up the journaling, I create text blocks for several pages at once in a Word document. I use the same fonts throughout the section to visually tie the pages together. Once I have enough done to fill a page, I print them out, cut them, and add them to the pages.


After working on the fair pictures, I was motivated to keep going and finished all of 2012, including the last Thanksgiving and Christmas we had with my dad.


  So even though these photos were bittersweet to scrapbook, I'm really glad I worked through them. Now they're safely tucked into an album for us to look back on and enjoy in years to come. 

Now on to 2013! Will I ever catch up to the present day? 
Yes, I really believe that I will!
jp