Showing posts with label Cardstock. Show all posts

16 September 2022

Feline Friday

The last few weeks have been super busy for me, as we're getting ready for some big online classes at Memory Bound. As you can see, Lily is not at all helpful with kit assembly!
 She likes to be near me but will rarely stay awake to see what I'm doing. I guess she finds all of this crafty stuff pretty boring!


Actually, she must find MUCH of what I do pretty boring, as she spends most of our time together asleep!


But awake or asleep, I still love to have her company!


24 October 2021

Where Have I Been?


Blogging friends, it's time for me to be upfront about my blog. That sounds more ominous than it really is!

My poor blog has been neglected for so long that I sometimes wonder if I should even keep it up. My posts have been reduced to weekly Feline Fridays and this is far from the vision I had when I first started blogging.

The current State-of-the-Blog just makes me sad. 

It nags at me like an unfinished project.

As it happens, I've had conversations with a few people lately about blogging in general. In these casual chats, I've heard myself saying things like:

* Blogging isn't as popular as it once was.
* Videos have somewhat/largely replaced blogging.
* Privacy and safety concerns have led to the demise of some blogs.
* Google no longer supports Blogger and as a result, it has few features. Heck, there's not even an app!
* Moving my blog to another platform like Wordpress seems like more trouble than it's worth.
* Life has gotten in the way of my blogging. The pandemic situation resulted in a big uptick in my creative endeavors for the store where I teach. It's been super fun but has limited my time for blogging.

On the other hand, these things are also true:

* I still love writing, even though my lack of self-confidence sometimes gets in the way of it.
* I have relied heavily on my blog as a record to support my scrapbooking.
* Blogging gives me a way to share about topics of interest to me.
* I would be terribly sad to give up my blog.

So weighing all of these things, all of the positives are much more important to me than the negatives. So the logical answer to this situation is for me to dedicate more time to my blog and get back to the aspects of blogging I have always enjoyed. 

And just see how it goes. 

I think I still have a few folks out there who read my blog and there's a slight possibility I'd have more if I actually posted once in awhile! 😀

So here's to posting a little more frequently -- and about more than just CATS. After all, this blog is supposed to be about BOTH CATS and CARDSTOCK. I still love cardstock -- probably not as much as cats but it's close! 

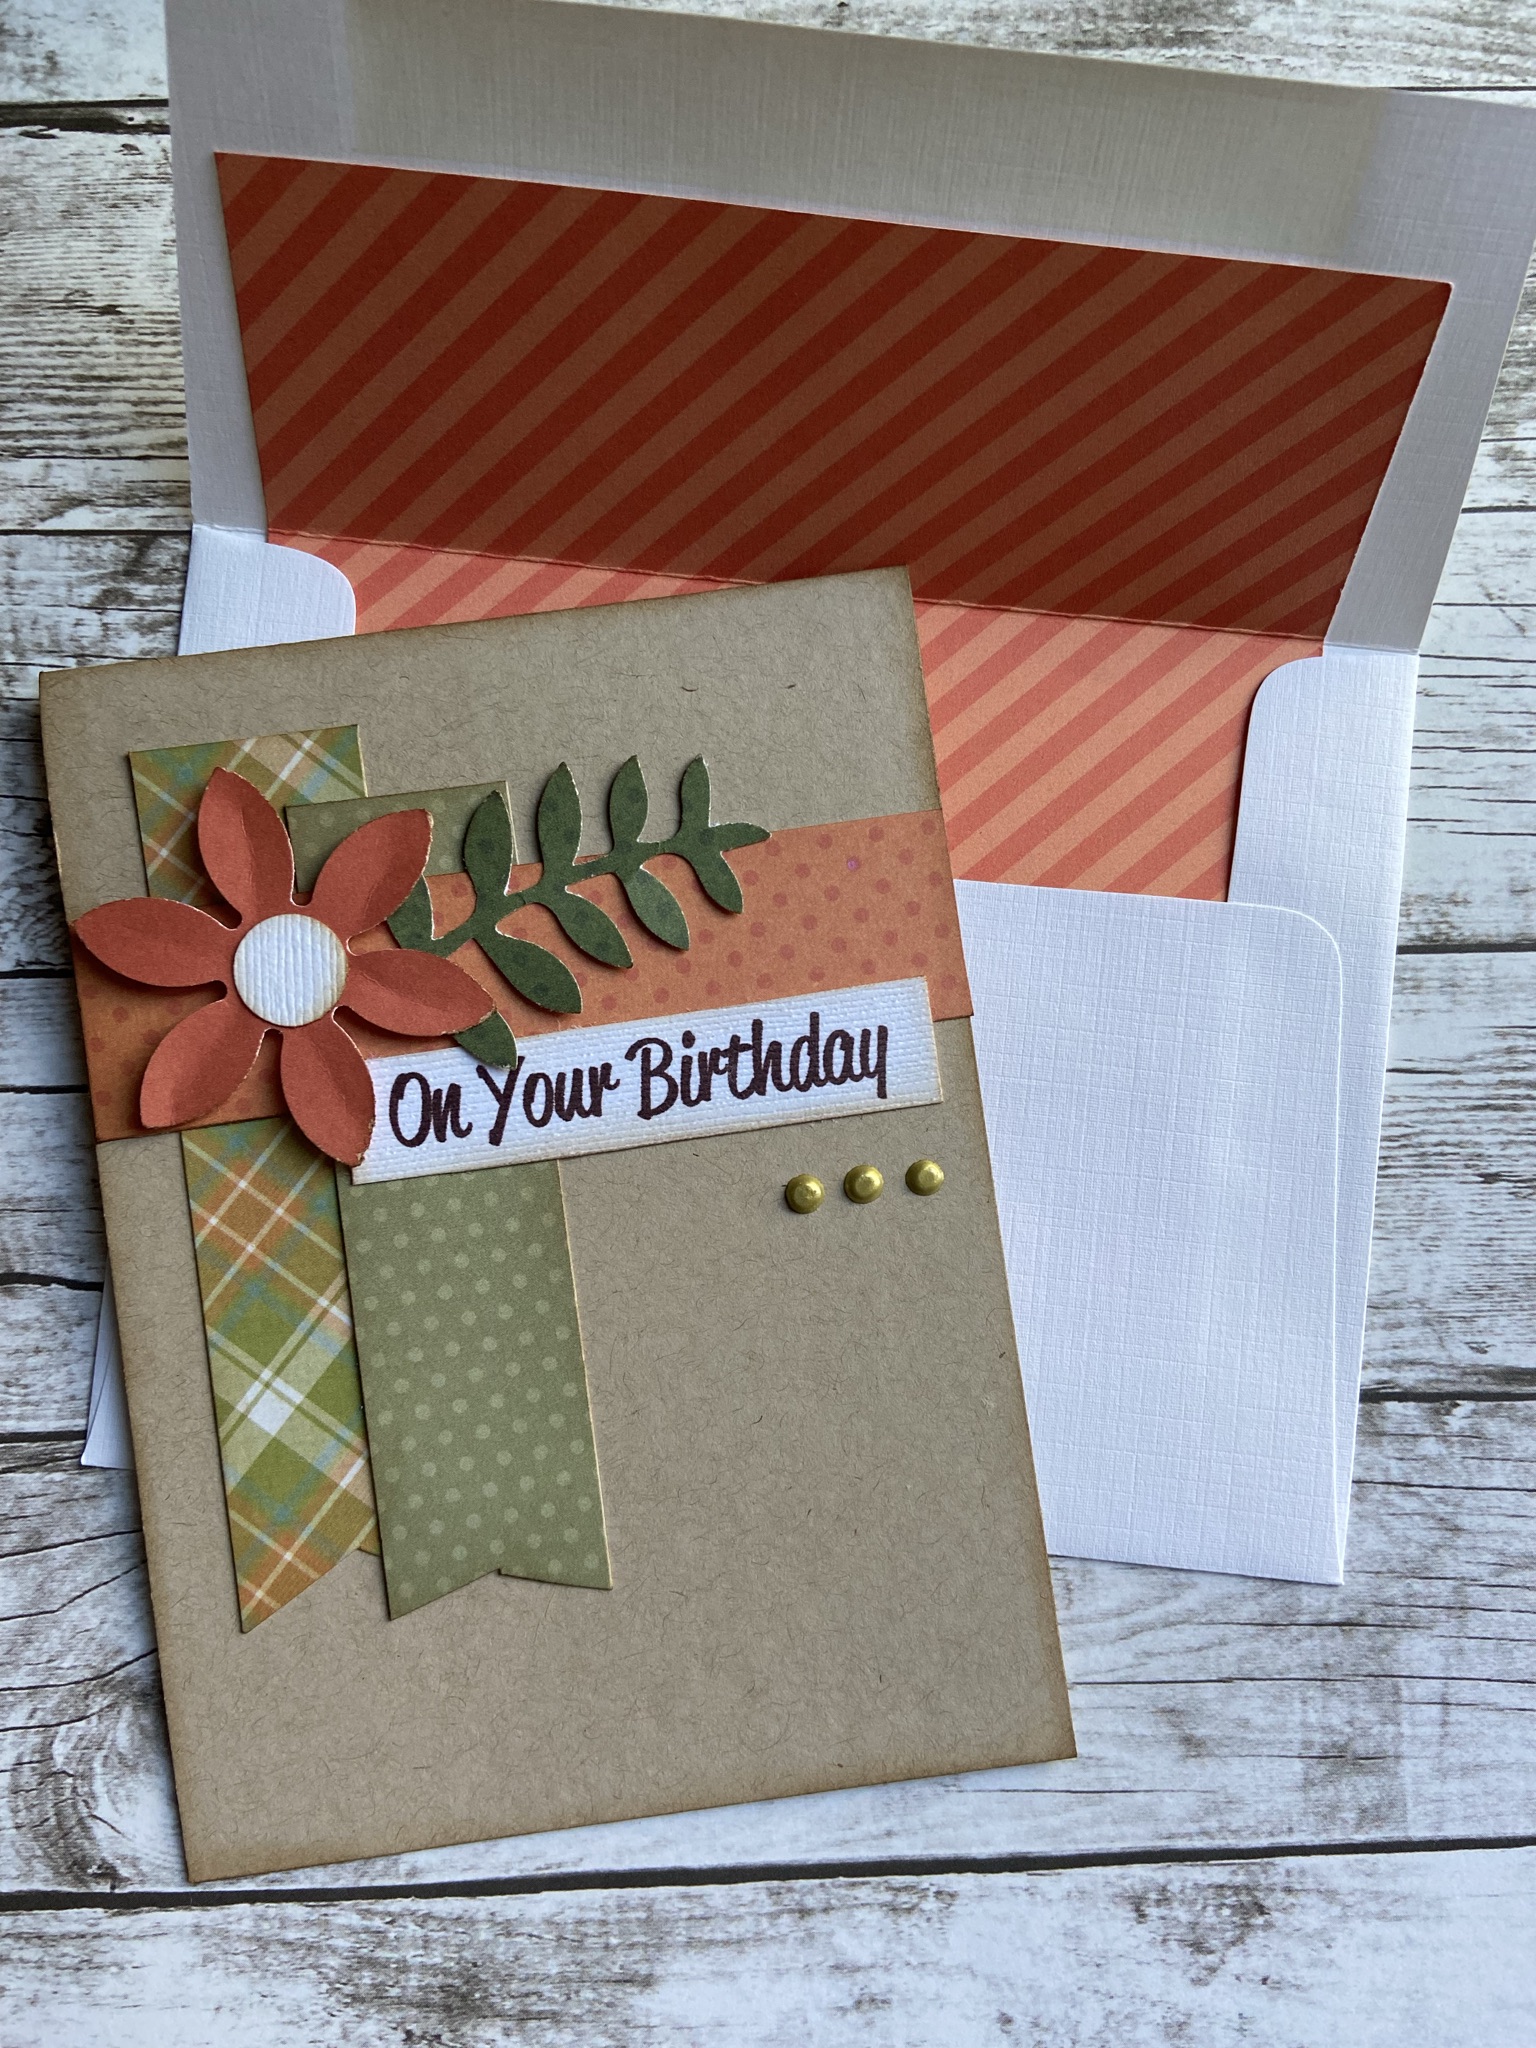
Let's "get this party started" (this is as close to partying as I get) with some examples of cards I've made in recent months for various occasions. And yep, all of these cards feature cardstock!

I made this first card about a year ago on the occasion of a very special engagement! The hearts are from a large Hero Arts die set and instead of layering them, I inlayed each one to create a flat surface. This is a trick that's easy to do with any nesting die set you may have. I added die cut flowers, foliage, and a word at the bottom. To give the word more emphasis, I cut it three times and glued the layers together.

  
From the side, you can see that this card has a lot of texture and dimension but still mailed quite nicely. Incidentally, the paper is from an older 6x6 Authentique pad which has sort of a Bohemian vibe. Sadly, Authentique seems to be out of business, or at least not actively in business at this time. 

This birthday card also features an older paper from my stash and a few die cut hearts with a printed greeting. This is an easy way to use up some of those scraps you may have been hoarding! Just cut a panel of patterned paper and mat it with cardstock. Then die cut a few hearts and flowers in some colors derived from the paper. To finish the card, I embossed the yellow heart and added black Nuvo Crystal Drops to the flower centers.

These cards and tags are part of a set of samples I made for Memory Bound. I used a 6x6 pad from Echo Park to create lots of different projects. I enjoy making grid cards like the two you see here. They are easy to make with 2x2 or any similar size elements. I also like to save some smaller bits to add to tags. If you're giving a gift, it's fun to include a matching card and tag to make the presentation a little more special!


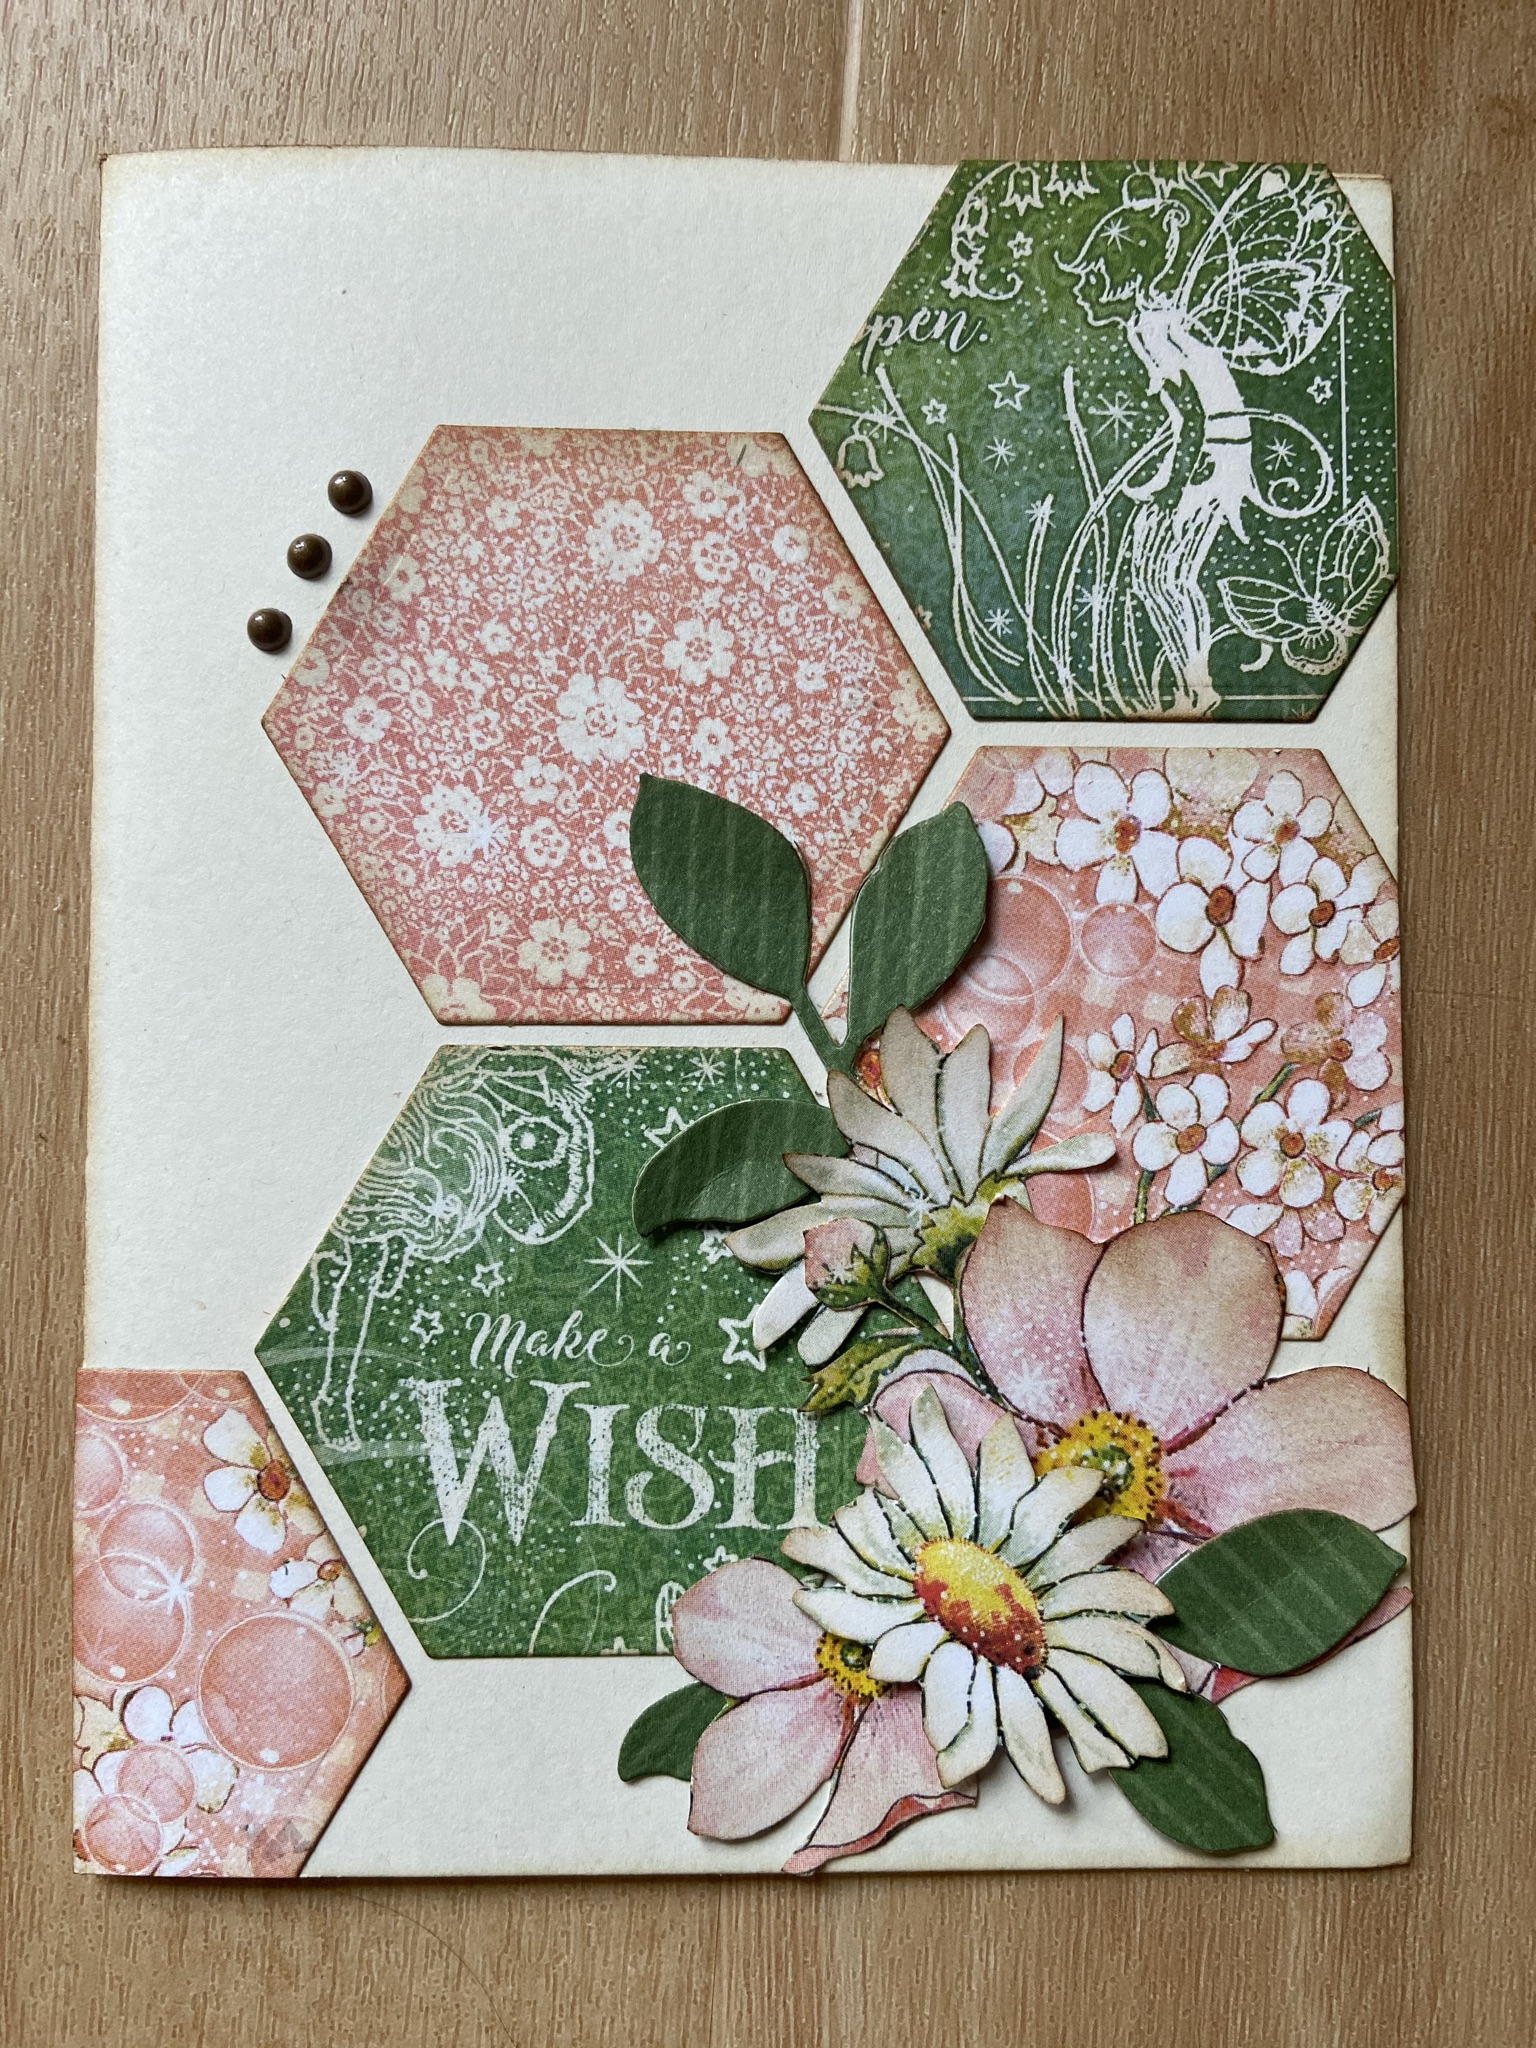
These next three cards were also made as samples for Memory Bound using the Graphic 45 fairy-themed line. This collection has a lot of different colors included but for these cards, I limited the color pallet to pinks and greens. This first card features fussy cut flowers from the paper.

 This next card features paper which I cut with a hexagon die. If you have busy paper that's hard to use, cutting it up like this is a good way to go. The card design also features a fair amount of "white space" (blank area) that balances out the busy papers and gives the eye a place to rest. The bottom corner also features a few fussy-cut flowers which is another good way to use Graphic 45 papers.
This is a simple design I've used often with many different papers and is a good way to use border strips and smaller cut-apart elements. This time I pulled in a blue border to tie together with the blue in the fairy piece.There was room for a small fussy-cut flower cluster at the left.
These two cards follow the same design. I'm never afraid to "borrow" an idea from a previously made card! As you can see, the cards look different even though they are made with the same basic idea. I had enough pieces to make several versions of the card at the left and I've used them this fall for many occasions.

This is a "book binding" style card which is designed to look like the cover of a book. To achieve this effect, you simply score the card front at 4.25" and 5.25" which creates a 1-inch "spine". You'll adhere this part shut with Scor-Tape. I really enjoyed making this card and will definitely be creating more from this design in the future. Since I was giving this card in person, I also took the opportunity to decorate the outside of the envelope, something I always enjoy doing.

This was a fun card I recently made to celebrate the 20th anniversary of Memory Bound, the store where I teach. It's hard to believe that the store owners invited me to teach over 20 years ago and I'm still at it! 😀 For this card, I used colors to match their logo. I embossed a white panel for the front of the card and die cut it with a stitched rectangle. Keeping the background neutral allowed me to focus attention on the items in front. I die cut flowers and greenery and layered them in a "spray" across the top. In this case, I had the opportunity to again decorate the front of an envelope which always adds to the presentation!

I just made this last set of cards as a little gift for a co-worker whose husband has been hospitalized. The call went out that she was in need of thank you cards to send to the many people who have helped them during this challenging time. I went to my stash and found a 6x6 pad with masculine plaid paper. I simply cut the paper into 3" strips and added them to the front of each card. Then I added a strip of cardstock and some die cut leaves to each, along with a printed sentiment.

To give the cards, I stacked them along with 4 envelopes and wrapped them with a piece of tulle. I added a die cut tag and included a note on the back. This is an easy but nice way to present a bundle of cards.

I know that many of my friends love making cards but don't have all that many people to send them to these days. Bundles of cards make a wonderful gift, perfect for the holidays or to take along to a party as a hostess gift. Or drop off a few at your local nursing home. This is a great way to put your card-making skills (and stash!) to use and spread a bit of cheer at the same time!


 Okay, I've done it. I've shared just a bit more of what I've been up to lately and it wasn't so hard. Stay tuned!

Thanks so much for stopping by today!

Janet


22 March 2017

The Cobbler's Children...

 
Have you heard the saying about the cobbler? The cobbler's children have no shoes. Presumably that's because the cobbler gave all of his or her time and energy to the business.

Similarly, we could say that the card instructor's card basket has no cards. SERIOUSLY, no cards, other than a few weird cards that I will probably never send. True confession!
 

 Now envelopes? I've got you covered! :)
 
This is a very strange situation. I make LOTS of cards for classes. I'm ALWAYS making cards, and that's no exaggeration. If I'm not making cards for class projects, I'm making kits for card-making classes.

But take time to make cards for myself? I rarely do that these days. If I need a card, I rush around and make it at the last minute (something I tell my students never to do!) or...wait for it...I sometimes buy a card at the grocery store. *gasp* Now that, folks, is a shame, when I have enough card-making supplies to last for 100 years!
 
  Well, I recently rectified this unfortunate situation and made 12 cards in one evening! I started out with a sheet of cut-apart paper which is made for cards and gives you a 3x4 piece for each card front in a variety of themes. Then I added more paper and do-dads, and that was that! These cards were quick and easy to make and, while they're nothing to write home about, they'll do in a pinch and I won't be running around trying to make one at the last minute.

My trusty helper, Tinsel, was on duty for this card-making event. Whenever I'm working in the craft room, she's almost always with me. Bless her little heart.

When I was done with the cards, Tinsel and I put them into my basket. It was a good feeling filling that basket up. Well, it's actually filled with envelopes, but adding a few cards makes it LOOK a little fuller.

So yay for my sweet craft room helper. And yay for card baskets with actual cards!
 jp


29 September 2016

Mojo Helpers: Recent Papercrafting Projects

 
Do you ever feel kind of blah? I have lately, and my lack of blogging is evidence of that. It's not that I have nothing to blog about -- trust me, I have plenty! -- but I just haven't really felt like it. Blogging mojo ebbs and flows, you know.

Paper crafting mojo ebbs and flows, too. Sometimes I feel like I use up all of my creative mojo for classes and I'm too tired for personal crafting! But once I carve out a little time for myself, I can generally get the crafting mojo back pretty quickly. :)

Today I thought I'd share a few paper crafting projects I've made lately. Simple projects, nothing too exciting, but sometimes those are the best projects to help you get your paper crafting mojo back!

I recently made a set of thank you cards for my daughter to use for parents and students during the school year. The plaid paper matches her school colors.

 The cards were really simple, some with inside messages, some blank. And of course I used my favorite Wink of Stella shimmer pen. I'm not a bling-y person, so this pen adds just the right amount of sparkle.

I bundled up the cards and envelopes with a ribbon and sent them off. I hope she finds them useful this year! If not, I'll be taking them back for myself! :)

While I was at it, I made a double-pocket card for Daughter in a matching color scheme based on a card from one of my recent classes. In this case, I slipped gift cards into the pockets (lucky her!). This card is made from an 8x12 sheet of patterned paper, folded in quite a fun fashion! I think this is one of my favorite folds ever.
 

Here's the original card which was done in a Thanksgiving theme. Sheesh, it's not even October yet and I've already taught Thanksgiving cards. No wonder I never know what month it is! :) Anyway, this card included two message "pull-outs" in the pockets.
 

 Continuing with my recent plaid theme, I used up some plaid paper on these gifts for Daughter's boyfriend. I wrapped the box with kraft paper, then just cut the 12x12 plaid paper into strips to use for the trim. Pretty easy and a good way to fancy up a package for a guy...without being TOO fancy, of course.

And here's one more plaid project (are you sensing a theme here???) -- a baby card and matching bookmark.
 

I used laminating sheets to cover the front and the back, then finished it off with a handmade tassel. I enjoyed making the tassel but need to perfect my tassel-making skills! Cats may or may not have contributed to my issues...

 Here's another card and gift bag I recently made for a friend. The color scheme for the card and bag were inspired by the coloring book I gave her. The bag was the perfect size for a box of colored pencils.


 Hope these paper crafting projects have provided a tiny bit of inspiration for anyone who may be feeling a little blah. Sometimes all it takes is a bit of time at the craft table to brighten the spirits and re-start that mojo!
jp   


21 August 2016

Fall Banner

I've just passed the two-year mark with my case at the antique mall. Overall, it's been up and down, but things have been looking up since I started spending more time on "merchandising" my space. When I first opened my case, I was still in post estate sale shell-shocked mode, just trying to sell stuff without any thought of making my case look more inviting. 

After asking for some constructive criticism from the mall manager, I realized (light bulb moment...DUH!) that as a "dealer" in a mall, I'm competing with every other dealer for attention, and anything I can do to make my space look good will cause shoppers to at least stop and take a look. 

So I've been spending much more time staging items by color and adding seasonal elements to show how various treasures can fit into your home decor.
I've also learned that you need to "re-set" your case seasonally, but in advance -- when people are shopping for that next season! You'd think this would have dawned on me since I teach so many seasonal classes at Memory Bound but when I first opened my case, my mind was a muddled mess and I wasn't connecting A to B!

Now that I have a little more clarity of thought (LITTLE being the operative word!) I've got dates marked in my planner for seasonal case re-sets. Soon I'll re-set the case for fall with a simple banner and some dollar store flowers. It's amazing how much better the case looks these days, and it's resulting in improved sales. 

Here's hoping that positive trend continues! :)
jp

09 May 2016

Seasonal Floral Canvases

I just finished up the last of my four seasons of floral canvas  projects for Memory Bound. In the 14 or 15 years I've taught at the store, this canvas series is one of my favorites!

In addition to these four projects, I've made a Christmas canvas and plan to make more for the other holidays: Easter, Halloween, Valentine's Day, etc.

 I always prefer making seasonal projects because if something doesn't turn out exactly how you envision it, at least you don't have to display it year-round! :) Some of the ladies who've been taking my classes are framing and hanging all four seasons together, which is a fun idea I hadn't even considered.

For each canvas, I've tried to choose flowers that are somewhat true to each season as well as select a color scheme that reflects that particular time of year. Of course, I take a few liberties. You may not find all of these flowers at your local greenhouse! :)

In addition, I'm following the same basic "format" for each 5x7 canvas: A single die cut word at the bottom and a loose bouquet above it. I'm going to stay true to this format so that all the canvases have the same look and feel.

I've had fun making dimensional flowers using various dies and punches...


 ...and coming up with my own designs, such as these geraniums. My mom loved red geraniums and kept them on her porch, so of course I had to include some on my summer canvas.

 I'm looking forward to wrapping up the four seasons with my Summer Floral Canvas class in June then moving on to my next floral canvas project, a spooky bouquet for Halloween! :)
jp

29 March 2016

Recent Paper Crafting Projects

  Since coming home from Texas, I've been working on several class-related projects -- so many that I was almost late sending a box of Easter treats to Bailey! I sure miss the days when she was home and could enjoy an Easter basket and a small Easter egg hunt. For the last few years, I've had to embrace mailing her an "Easter box" -- the next best thing!

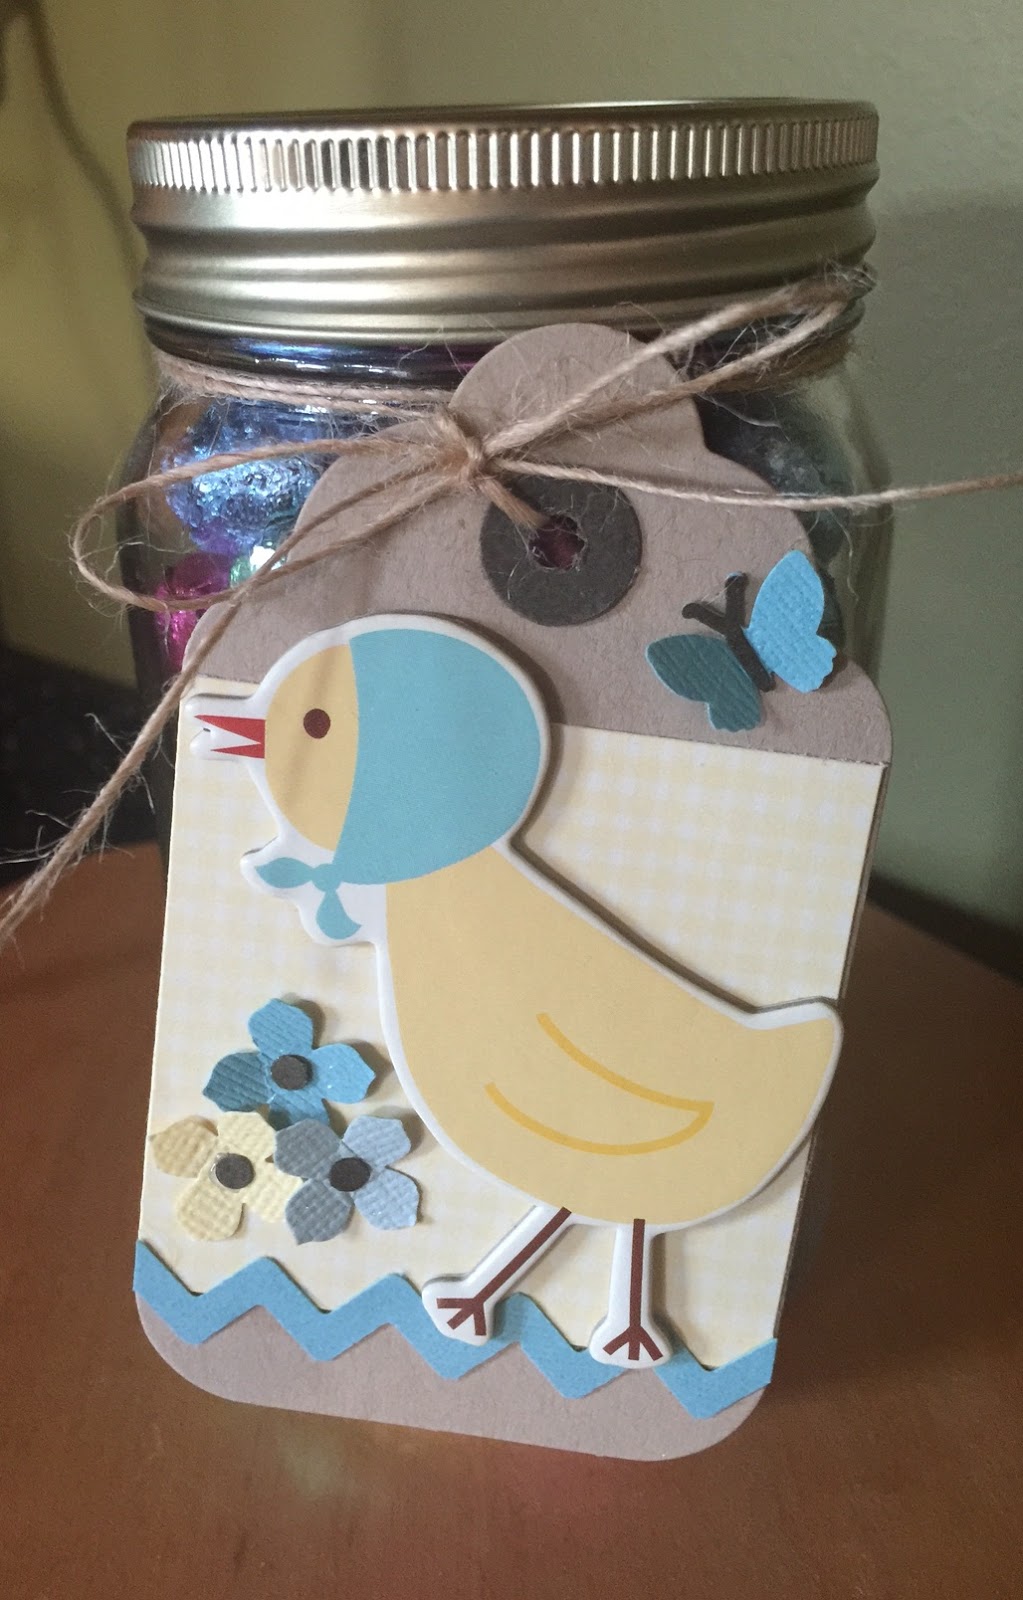
In this year's box, I included plenty of treats plus a jar with chocolate eggs and a little spring tag. I also sent along some Temptations for Rory and a separate tag so that the jar can later be filled with kitty treats. (Although in retrospect, that would be a LOT of treats!)

After die cutting the tags, I completed them with odds and ends I had in my stash. Fun and easy!
 

Over the weekend, I also made a banner for my case at the antique mall to go along with my recent efforts to spruce it up a bit. (More on that in another post!)

I purchased the chipboard banner pieces separately at Memory Bound. We carry them in packages but it's nice to be able to buy the components individually so you can get the number you need. Based on the width of my case, this is just about the longest word I can spell!

I covered the chipboard pieces with one of my favorite  -- now discontinued! -- cardstock colors, Sea Salt. Then I die cut scalloped ovals for each banner piece to brighten them up a bit.

 I cut the large letters at Memory Bound then embossed them with my Big Shot and adhered them with foam tape for dimension. Then I got out my scraps and punched flowers and butterflies to match the overall color themes I see in my case. Finally, I strung the banner pieces together with thick jute. This project took just a couple of hours!

 I'm planning to make a banner for each season to help pull my display together. It definitely brightens up the case a bit and hopefully will help draw customers my way!

  LOTS OF CUSTOMERS, please! :)