29 June 2012

Craft Room Update: New Floor!

 Isn't it true in life that things always take longer than you expect them to? Whether it's making dinner, doing homework, or finishing a big project for work, it's easy to underestimate how much time it will take to accomplish a task.

The same is true with this office/craft room flooring project. What started out as just a three-day project somehow morphed into much longer than that. But it's all good, because I'm happy with the end result. And I'm excited to start moving things back into the room and get the house back in some semblance of control. Not to mention the fact that I could really use a work space!


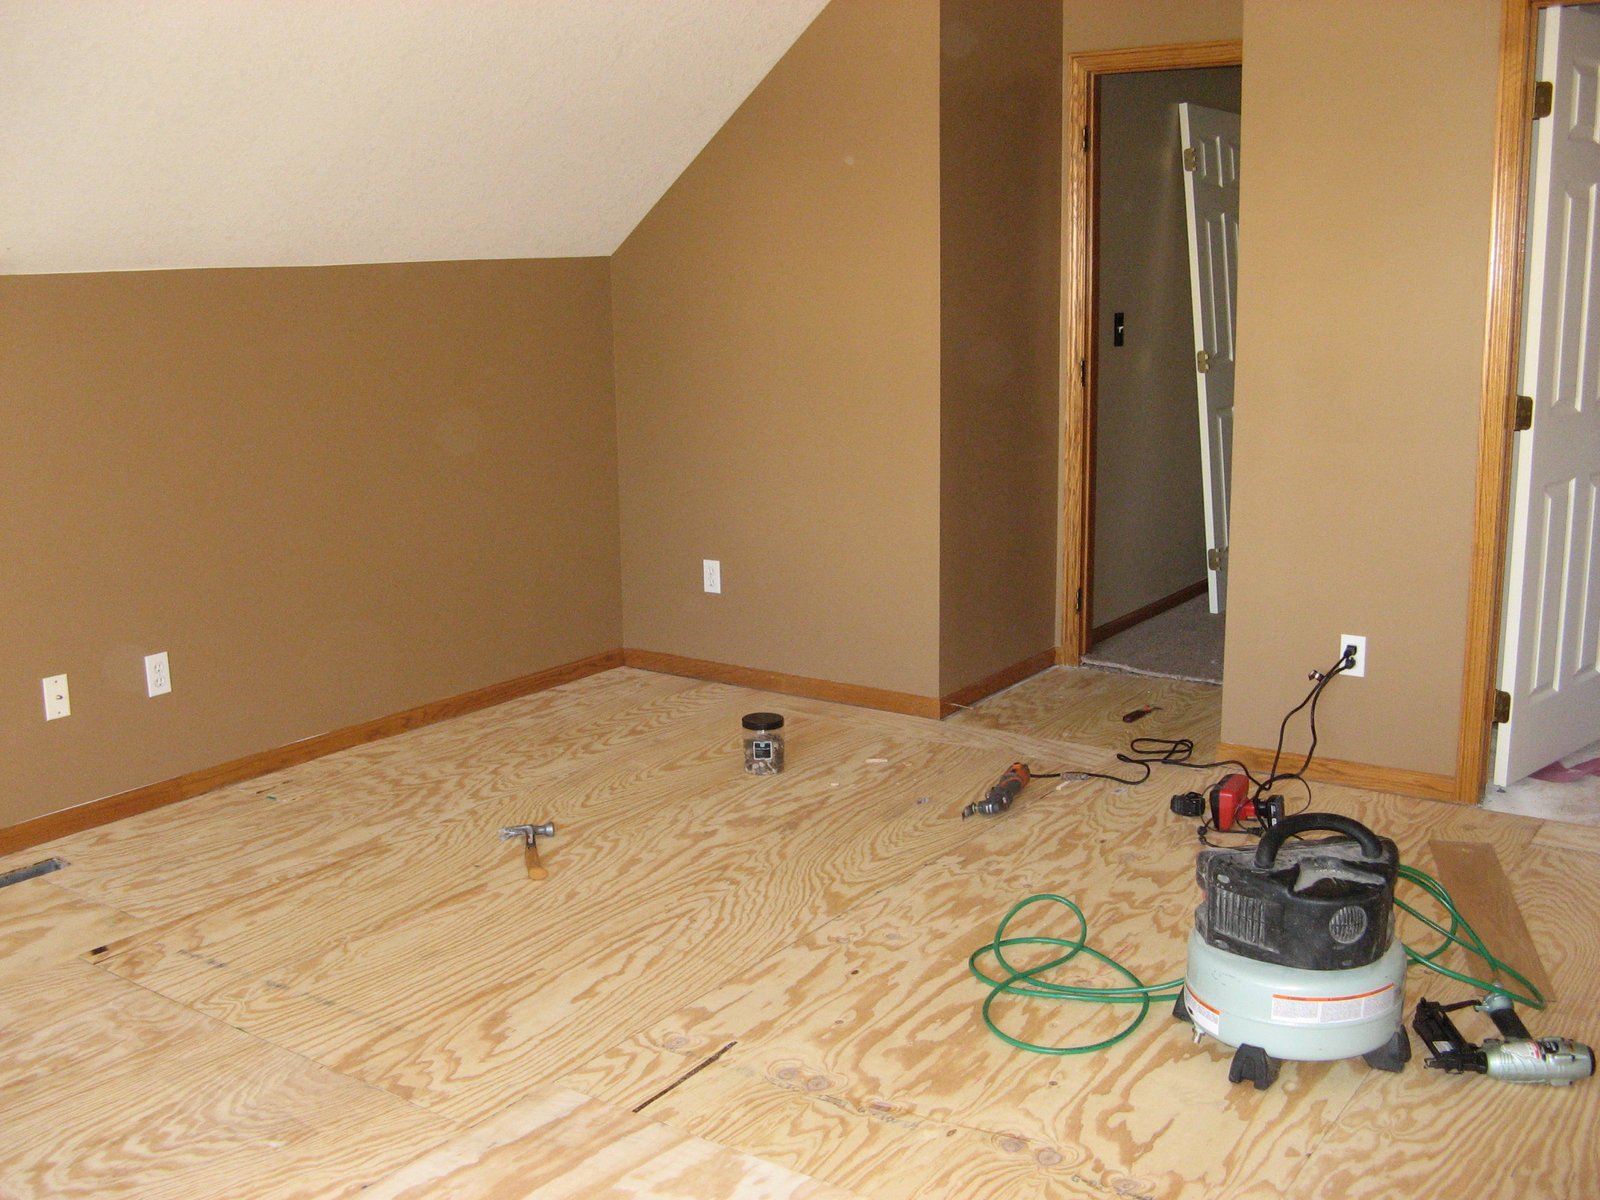
It's raining this afternoon so it's hard to get a good photo of the flooring, but I think you'll get the idea. The new floor is a wide-plank wood vinyl product called FreeFit. You can read about it here. I chose vinyl over laminate flooring primarily due to durability. Vinyl flooring is practically indestructible but it's super easy to replace a board if something should damage it -- just lift up the damaged plank with a putty knife and replace it with a new one. Even I can do it! For a craft room/office space (especially one featuring two kitties!), this floor will be very practical and easy to keep clean.


As you can see, the new floor continues into the closet. In the past week, I decided to remove the door from the closet and replace it with a curtain. With the door gone, the closet will be more accessible and open to the room....which made me realize that I forgot to paint it! DUH! After I complete that little task, I hope it will look more like an alcove than a closet. This of course means that my original plan of closet organization needs to be stepped up a notch or two, since the closet will be much more visible than I had initially planned.

 After a few days delay, I'm back on track with this project (well, with the exception of the closet!) and am happy with the results. Look for more photos soon!
Janet

Feline Friday: Muffin-Meister!

 House Rule #1: Never leave baked goods unattended.

 Otherwise, THIS will happen:

 And could there be any doubt as to the culprit?

27 June 2012

Patio Pots and Other News

It's been a very good season in the flower gardens. I have managed to keep most things alive so far, although with the current heat wave, it's taking a lot of water to keep the flowers from drooping. I've had to pay extra attention to the patio pots, as the wind and heat dry them out much more quickly than their in-ground counterparts. As such, I've noticed that all of my potted plants are growing very well this season, so I decided to document their progress.

This is how my table planter looked in early June:
 

And this how it looks now. Actually it looks quite a bit better than this photo suggests! I didn't catch many of the pink flowers in this picture.

 My patio pots looked like this just a few weeks ago:
 

And now they look like this:
 By the way, I'll be spray painting some of those faded-looking pots with a special paint made for plastic. But I'll probably wait until fall when I clean the pots out to tackle this project! 

This is one of the front step planters in late May:
 
This is how they look now:

I think I have a purple theme going (again) this year! All of my hanging baskets seem to contain purple flowers to one degree or another. Purple is a welcome change from the PINK flowers I've had in the past. I'm not a pink person!

 In other news, I've been busy working on several classes for Memory Bound, making kits and writing instructions. I have a fun mix of card classes and mini-album classes in the works right now.
 
Meanwhile, I've had a bit of a delay in the craft room/home office project as I'm waiting for new quarter round to be installed along the baseboard later this week. This unexpected delay has enabled me to sort through more stuff and to think through some of the issues I'm having with how to use the walk-in closet space. I expect to be able to start moving things back into the room late Friday, so look for some initial pictures of the floor then!
Janet

26 June 2012

Better than Starbucks?

After resisting Pinterest for quite some time, it seems that my daughter has now fully embraced it. Over the weekend, she sewed a skirt using instructions (no pattern!) she found on Pinterest, and last week she made a frappucino using a Pinterest-sourced recipe. I'm not a frappucino fan, so you'll have to take her word for it that this recipe is really good!

DIY Light Frappuccino Recipe

Enjoy a homemade version of Starbucks Light Frappuccino from the convenience of your own kitchen. Each low calorie frozen blended cappuccino has just 2 Points + per serving, making it an ideal frozen coffee fix for Weight Watchers Members. 

Ingredients
2 tbsp instant coffee granules (regular or decaf) -- she used 1 package of Starbucks VIA instant coffee
2 tbsp fat free vanilla flavored coffee creamer, powdered
1/2 cup fat free milk
8-10 ice cubes
**She also added a bit of sugar to taste.


Instructions 

Blend all ingredients together in a blender and process until smooth. If desired, sweeten with Splenda.  
Preparation time: 2 minute(s)


Read more: http://www.laaloosh.com/2011/08/04/diy-light-frappuccino-recipe/#ixzz1yuS2THyP


24 June 2012

Blooming Right Now

 It's late June, but it's so hot that it feels like late July. The growing season started early this year, so I have more flowers blooming right now than I usually do in June.


But who would complain about that? :) If this is global warming, it seems to be helping my garden! *
Janet

* I don't take global warming lightly. I'm quite concerned about this temperature shift. Spring should not start in early March!

22 June 2012

Feline Friday: Dietary Fiber

 Lily recommends getting your daily dose of dietary fiber!*


*Just kidding, of course! Lily eats toilet paper only occasionally. :)

21 June 2012

Craft Room Progress: I'm Feeling Lucky

 As I was editing a few pictures in Picasa this morning, I used the shortcut called "I'm Feeling Lucky". That sums up how I'm feeling right now about the craft room/office project. In this economy when so many people are struggling, I'm feeling lucky that I'm able to do this kind of project. It's taken many years for me to be able to justify (to myself) the expense involved in putting in a new floor, and I've saved my pennies for a long time. This project was not a necessity...and I certainly don't take that fact for granted. I will appreciate a more functional and inspirational workspace every single day!

 A new sub-floor is being installed today. This creates a smoother surface for the new flooring. It also raises up the floor a little bit (where the carpet once was) so that the baseboards will fit properly.

In this photo of the closet, you can see the difference between the original base and the new sub-floor. The base (not the right word, I'm sure) is made of particle board and isn't all that smooth. The new plywood sub-floor is much nicer!


It's already looking better than the carpet, but I think I'll let him go ahead and install the floor! :)

Meanwhile, Bailey and I have been toying with possible furniture arrangements. This diagram is definitely not to scale! I'm a very visual person so I'm sure I'll just have to start moving the actual stuff around to find a good arrangement.

 I'll admit that this next phase of the process (putting everything back!) is making me a bit nervous. I don't have a good plan for anything beyond the new floor -- other than my color scheme. I really don't want to just move everything back in and have it still look like the old hodge podge -- only with new paint and flooring. So I'm going to have to get creative with my very limited budget to see how I can make this space feel new and fresh.

Stay tuned!
Janet

20 June 2012

Kits and Such

 It's been a busy few weeks of teaching for me! Just this past weekend, I had two big classes with big kits to prepare. Next weekend, I've got another big class. Meanwhile, I finished up a new set of cards for a July class. Whew! It has been a little bit challenging since I don't really have a workspace at home right now.

  From these kits...


We made this mini-album.

 This was a really fun project! Lots of pages, lots of details.

In my card class, we made 12 very detailed cards with lots of layers. I tucked the pieces for each card in the envelopes...
 Then stacked the 12 cards up for each kit in the order we would make them. This kept things nicely organized so we could stay on track!


I had a great group of ladies on Saturday, and we got all of our cards finished! That's a LOT of cards!


Meanwhile, I finished up another set of cards which I really like using the new Simple Stories Summer Fresh line. I started with this sticker sheet and a few papers from the line...

...and came up with these 12 cards. Love the color scheme!

Here's to continued productivity...and hopefully a BOOST with my soon-to-be finished work space!
Janet
  

19 June 2012

Craft Room Update: Carpet Be-Gone!

 The old, icky carpet is now gone from the craft room/office space. Normally I have a hard time letting go of the past, but not on this occasion! After 22 years, I think we got our money's worth.
 

Of course, Lily and Tinsel each had to inspect the room. I'm sure they're going to miss the carpet. They both used to enjoy naps in this room in the late afternoon sunshine. Too bad, ladies! :)
 

 I'm pretty excited about how different the room will look with a hard surface floor.

And how easy it will be to keep clean!

Look for an "after" update on Thursday or Friday of this week!
Janet


17 June 2012

Craft Room Update: BEFORE!

 I feel like I'm on the verge of something BIG...and I am! Today the carpet is being removed from my craft room/office space. This carpet is original to the house, meaning it is approximately 22 years old. And let me tell you, after many years of crafting in this room, it is NOT in good shape. And it got a little worse last week when I smeared just a few spots of BLACK PAINT on it while painting my desk. Oops!

I have ordered new "fake wood" flooring which will be installed on Thursday and Friday of this week. I could not be more excited about this little project!

 Of course, everything in the room had to be moved out. This was no small undertaking. In fact, this process has somehow turned the entire house upside down. The stuff is EVERYWHERE! For instance, the office desk drawers are now in my bathroom. If I need to staple something while I brush my teeth, I'm all set!

  I don't even want to THINK about putting it all back!  Actually, I won't be putting it all back. Many things still need to be sorted and consolidated -- especially those 15 or so tubs of school papers.

 For now, I'm enjoying the empty space in this room and looking forward to a big change later this week! Stay tuned!

15 June 2012

Was Feline Friday: Now Laundry Day


Oops! I made the mistake of leaving the kitchen towel drawer open. Lily took full advantage!


11 June 2012

Craft Room Project: Painted Desk

As part of my craft room/office overhaul, I've been banishing colors that don't fit into my color scheme. The biggest offender on this list was my computer desk. We've had it for many years and frankly, it was in need of a few touch-ups anyway, so I decided to paint it black to match. Plus I'm way too frugal to get rid of something perfectly useful!

Being ignorant about painting furniture, I initially thought I'd have to spray paint the desk, but someone I know told me how she had recently painted her bathroom vanity with a special type of brush-on paint. So off to Home Depot I went, where the Nice Paint Guy recommended Behr Ultra Paint and Primer In One for my project. I have to say this was the right choice. This paint is thick and covers beautifully. I think it would cover just about anything!


Nice Paint Guy also recommended using a foam roller which, I've learned, is very different than the furry roller you've probably used to paint walls. Foam rollers create a very smooth texture and are perfect for painting furniture and doors. (Yes, DOORS, Spouse, if you are reading this!)


The desk actually has two large pieces plus a corner piece which holds them together. Since I was new to this furniture painting business, I decided to start with the corner piece which has only one leg. With Lily's supervision, I got off to a good start, so I moved on to the next piece!
  
The second component is a traditional desk (pictured upright in the first photo of this post) with four legs and three drawers. I flipped the desk upside down, as it was easier to reach the painted surfaces that way.


The drawers were a bit tedious to paint but still not difficult. Most surfaces required only one coat, but I gave a second coat to the drawer fronts.


The final piece took the longest, as it had to be painted inside and out. 

This piece also has two slide-out shelves, used for my keyboard and scanner. Again, I flipped the HEAVY desk over to work on the sides, then flipped it back up to finish painting the inside. Good thing I go to the Dreaded Fitness Place! LOL


I still have a few spots to touch up, but I'm very happy with how the finished desk components look! I won't be re-assembling the pieces until the new flooring is installed, so a full picture will come later. I can see the room starting to come together, at least in terms of color! :)


 This paint worked so well that I'm no longer fearful about painting other types of furniture. But first, I have a craft room to finish. Stay tuned!
Janet