
After Christmas last year, since we were still on lock-down, I decided to continue making Christmas cards. Every time I had a few minutes, I tried to make at least two or three. I continued doing this through the spring and before I knew it, I had a 24 or so cards ready to go for this year. The fact that I'm making my own Christmas cards before December 1 is quite remarkable. And I'll admit that it's a good feeling!
Before starting on my Christmas cards again this fall, I decided to clean out my box of holiday papers. It is quite amazing the amount of stuff I've accumulated over the years. Considering how I enjoy making cards from scraps, I have the potential in this box to make several hundred Christmas cards...way more than I'd ever need!
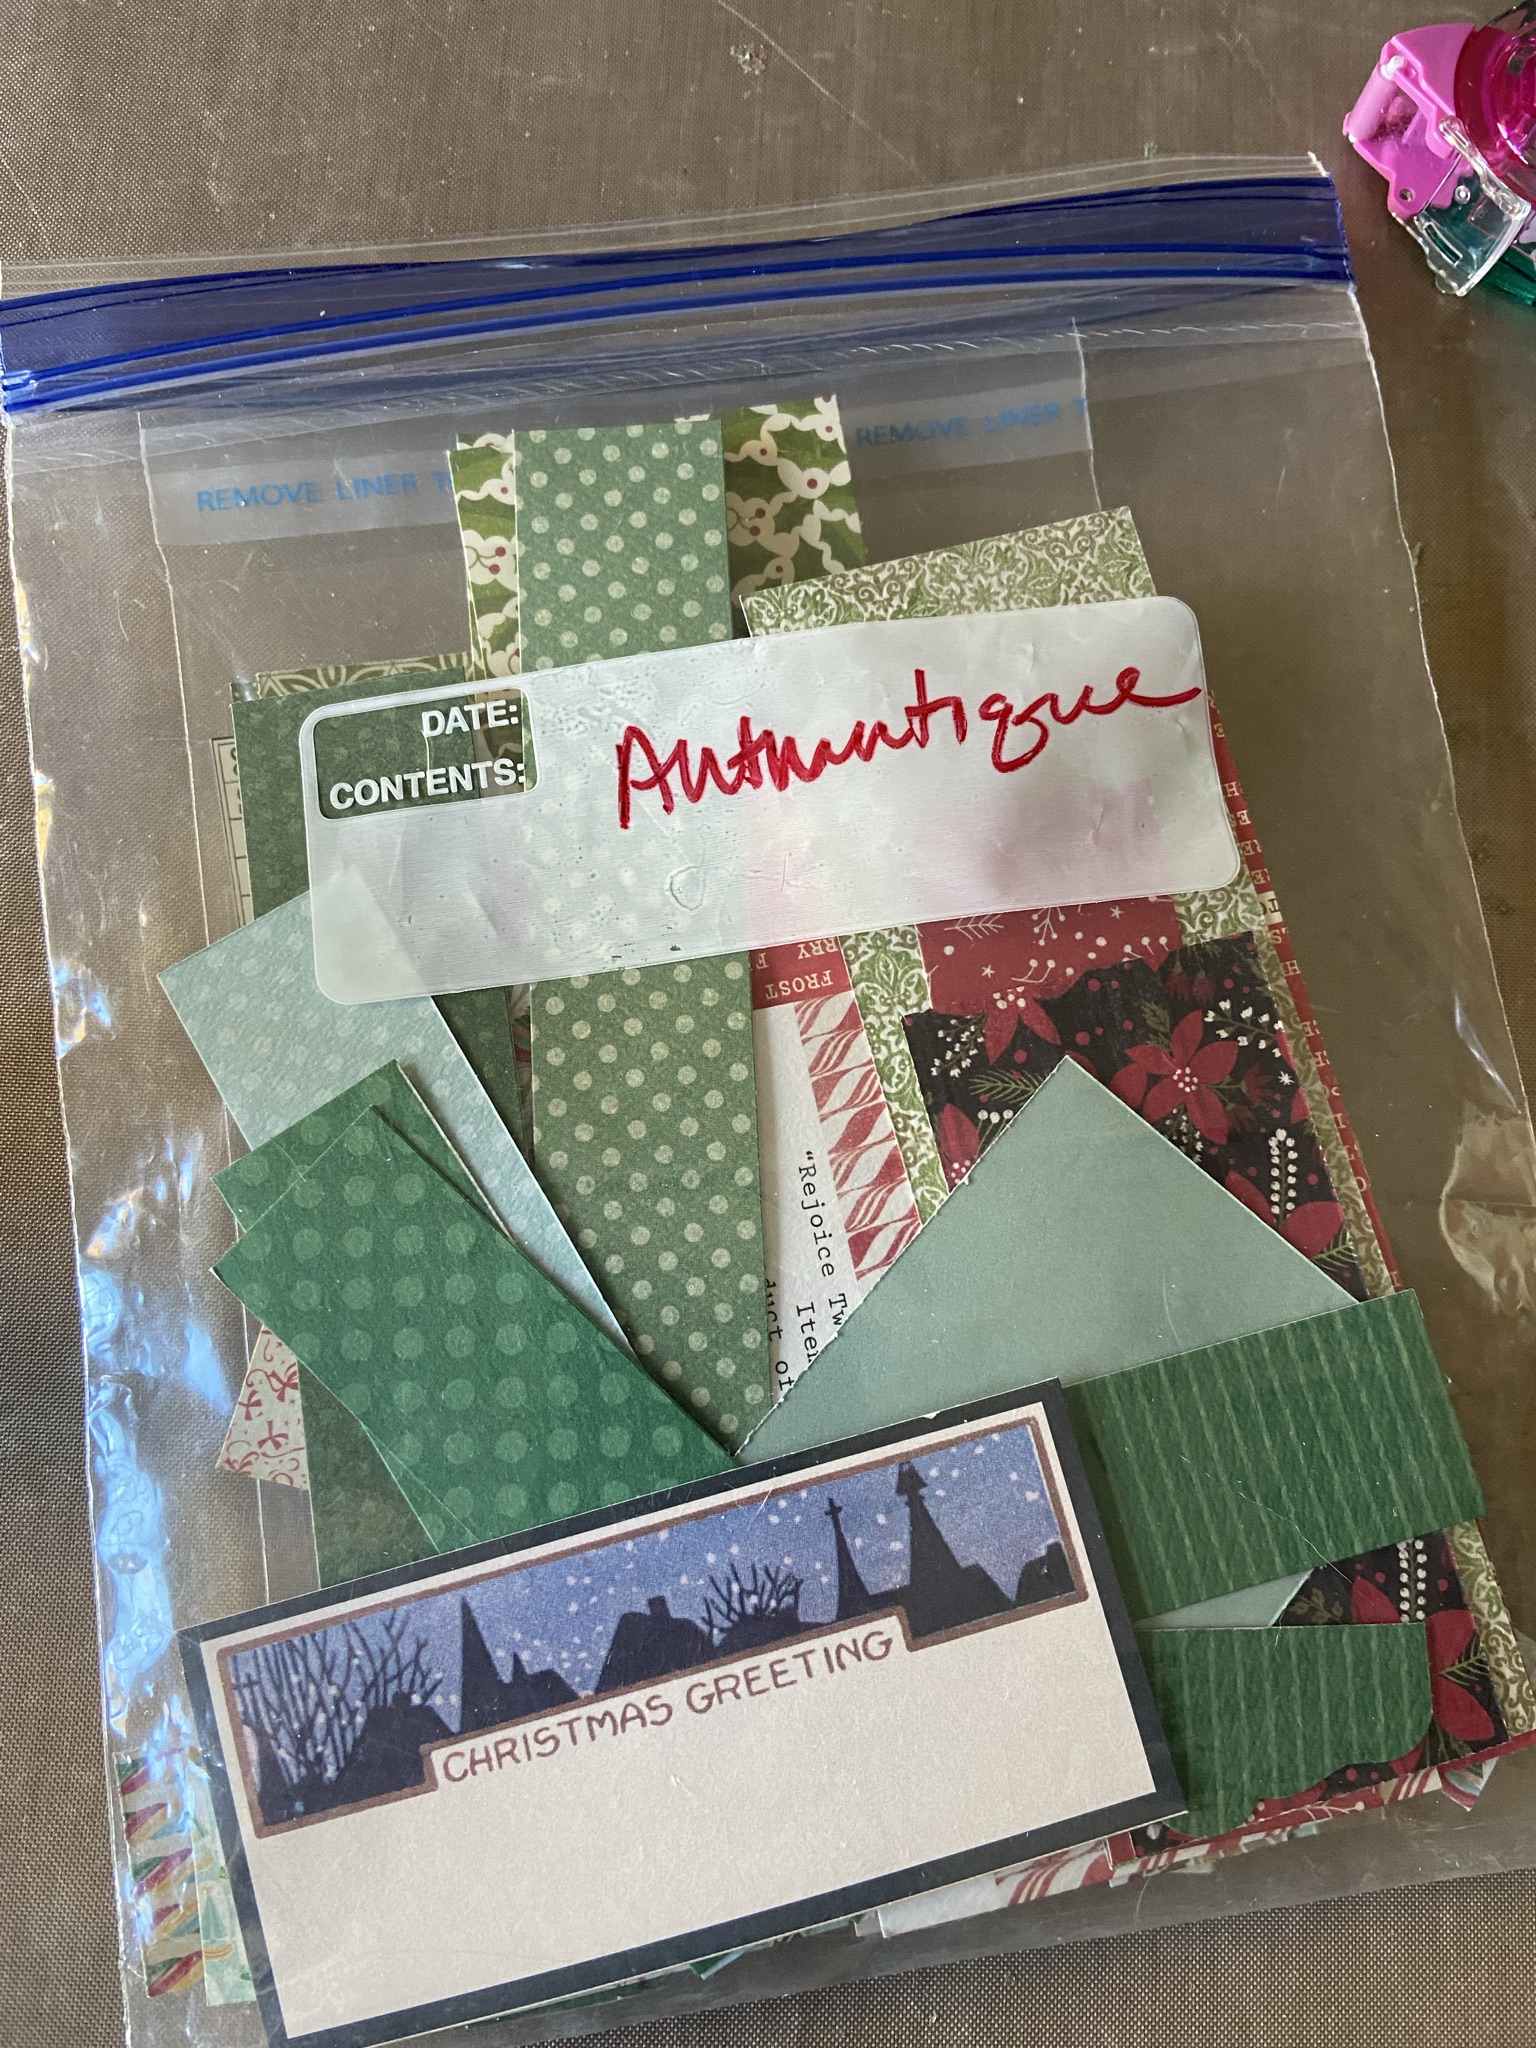
It doesn't take much product to make a nice card, especially if you supplement your paper with die cut pieces. For instance, I had just a small baggie of my favorite 6x6" (hoarded!) Authentique papers left and decided to see if I could use it all up (I still haven't!). I've made Christmas cards with this pad for at least two years so you know I'm coming to the end of my stash! Along with the few pieces of Authentique, I also had a few scraps of coordinating papers.
I started by sorting the papers into piles by pattern. At that point, I realized that I had four Santa pieces which would make nice card fronts. The challenge was that this Santa piece was long and skinny, and none of my paper scraps were very large.

With my papers sorted, I came up with a design that would enable me to make four nearly identical cards. Since I had a lot of 1" strips, I started with one at the left. Next came the Santa piece. I also had a few 2x3" pieces so used one on each card at the right, followed by a horizontal 1x4" strip across the bottom. The pieces were arranged in a stair-step fashion which worked great for the narrow Santa. When adhering them, I started with the right-hand piece, overlapping each one slightly so that Santa appears to be looking out from behind the strip at the left.

The strip across the bottom covers the cut edges and provides a "ledge" for the text piece and embellishments to come.

I added a text piece made with MS Word text boxes, then finished each card with some glittered greenery, a die cut poinsettia, and punched circles. I really like the pop of black which ties into Santa's buckle, so I repeated it three times in the punched circles, Nuvo Crystal Drops, and text piece.

For the past few years, I've been lining the envelopes for all of my cards. This is a great way to step up your card presentation. So after making these cards, I found a coordinating green paper and cut liners for each envelope.

In addition to these cards, I had a couple of small pieces of Authentique artwork left to use on my favorite "strip cards". This is a design I tend to use when I'm coming to the end of a paper collection and just have small strips. It works for any occasion. I made graduation cards with this design back in May, as well as on several occasions since then!

This is such a handy design and one that you can make with almost nothing! While I was at it, I cut liners for the envelopes so they are ready to go.

Another time-saving measure is printing directly on the insides of my cards. I have formatted a MS Word document with a text box that prints on the upper right of each card base. For me, this is definitely faster than stamping and much more efficient than printing my card inserts separately and gluing them inside each card.


As I sorted through my scraps, I found enough to make 10 Christmas cards for the Cards for Kindness program. If you enjoy making cards but perhaps (like me) don't have a ton of people to send them to, I'd encourage you to check it out! It's a wonderful way to use your card-making skills and stash to spread a little kindness in the world. And it's not just for Christmas cards! They need cards in a variety of themes all year long. In addition to making 10 Christmas cards, I also made 10 "hello" cards, all using scraps in similar designs to the ones shown above. It was a great feeling boxing them up and sending them off this week!
Thanks for stopping by the blog today! My goal is to post more frequently and so far, so good!
jp
No comments:
Post a Comment