05 December 2015

Bathroom Remodel: Counter Top

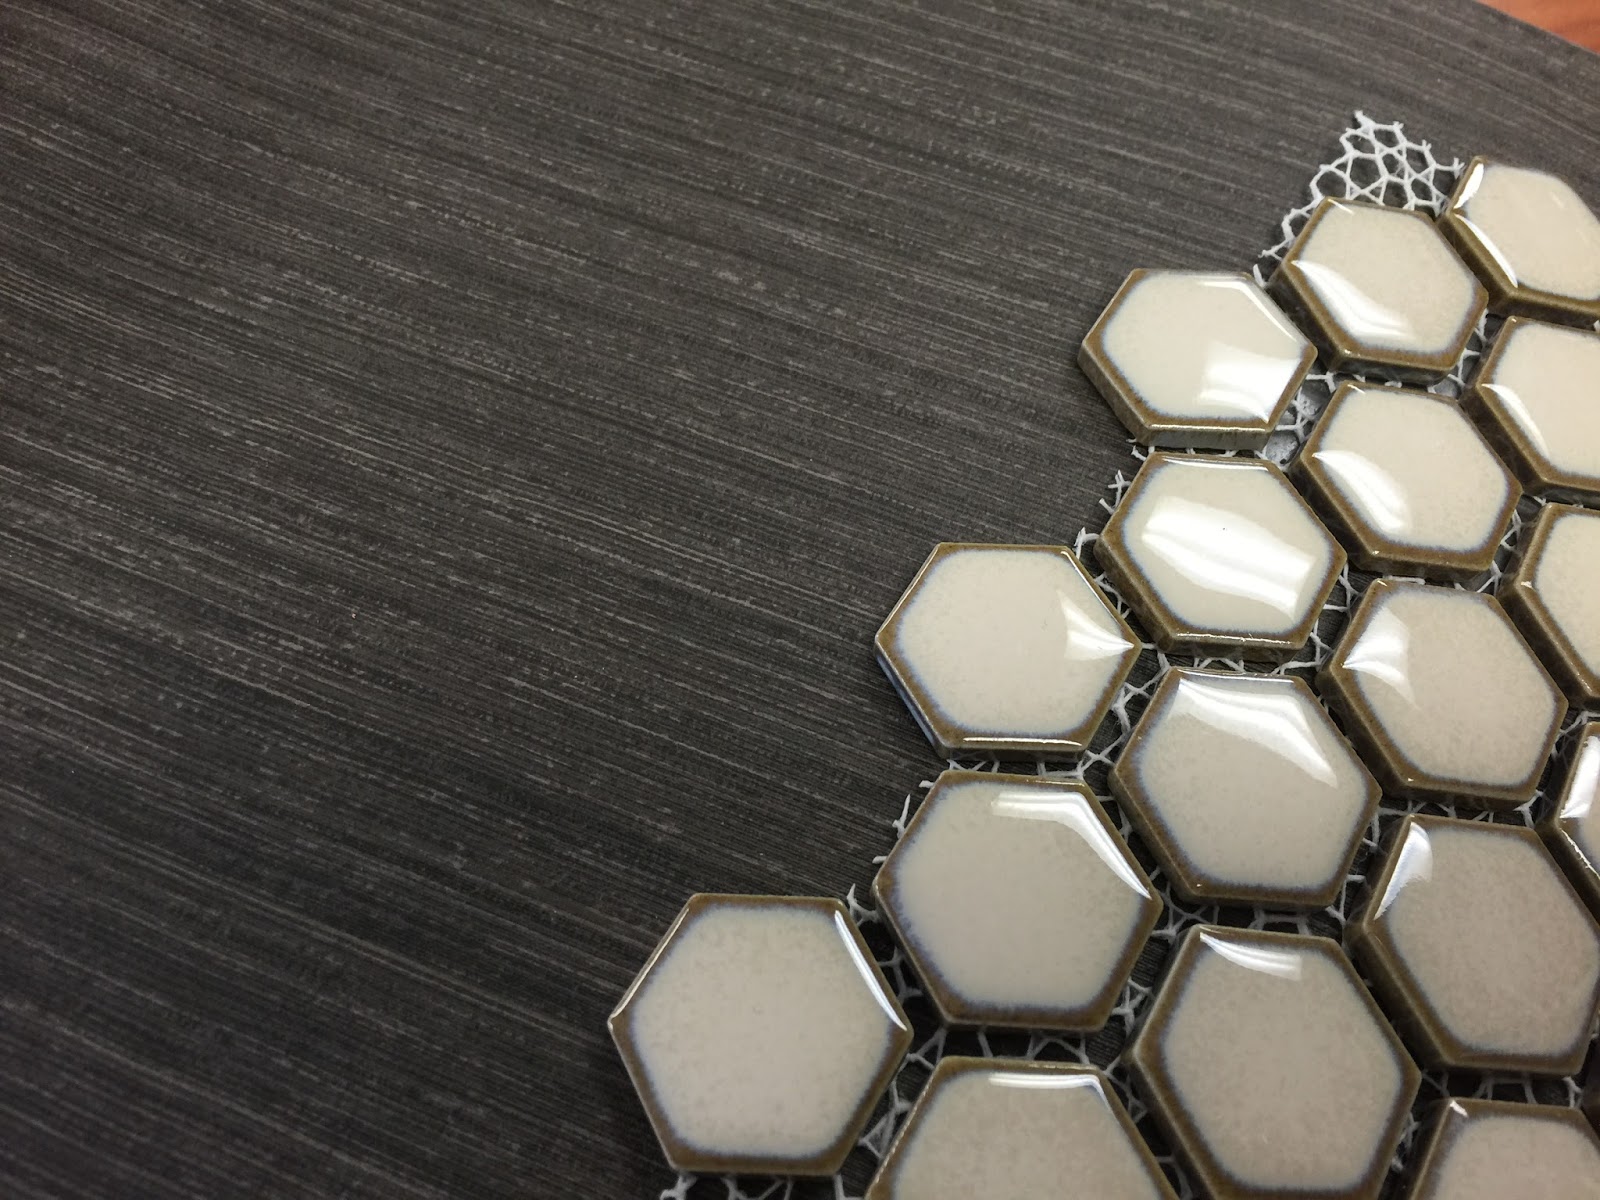
 I'm doing a happy dance today because our new bathroom counter top has been installed! Before I show you the pictures of it, take a look at the showroom counter that inspired our (my) choice: THIS. This is truly a thing of beauty. From the moment I saw it, I was drawn LIKE A MAGNET to it! I am not even kidding.

I love everything about this installation, but the overall look and feel is way too modern for our house. Since I was so enamored with the counter, you can imagine my delight when the designer said that she thought it could work in our "transitional" style bathroom. SOLD! I didn't even consider any other options, which is not at all like me!

 Look at this super cool sink! I just love the sleek look and feel. It's elegant and understated at the same time. 

 But my favorite part of the counter is the "chunky" look along the front edge. The front of the counter measures 2" deep, whereas most counters are 1-1.5" deep. I can't even describe how much I love the chunkiness!
 

Given my love of the store sample, you can imagine my excitement when the counter top was installed AT OUR HOUSE! It's just like the one in the store, handmade and installed by the same guy! I can't stop looking at it!
 

 Here's one of the beautiful sinks, ready for the fixtures to be installed.

Those holes will soon be filled by this faucet.

I couldn't be happier with how the counter turned out!

Thanks for following along with me on this project! It's really fun now that I can see the bathroom coming together. Watch for more photos in the coming weeks!
jp

30 November 2015

Bathroom Remodel: Update

It's been awhile since I've posted an update on our bathroom remodel. It's going well and we hope to have the project wrapped up by Christmas. 

The wainscoting is almost done (just missing the top "cap" and the bottom trim board) and looks fabulous. It adds character and works really nicely with the floor tile.

Once it's completely done, the wainscoting will be painted an off-white/cream color to match our doors and other woodwork.

Now use your imagination and see if you can envision the brown wallpaper shown below covering the remainder of the green wallpaper. As soon as the painting is done, Spouse and I will be hanging the wallpaper.

In this photo you can see how the trim around the windows has been removed and re-worked to match the wainscoting. The same thing is happening with the trim around all the doors in the room. 

In this photo, you can also see that the new cabinet has now been installed. It is the same length as our old counter but quite a bit taller. The counter top will be installed in a few days. I'm very excited to see it in place, as the countertop is one of my favorite things about this project!

As you can see in the photo below, the cabinet is walnut, which matches the antique furniture we have in our bedroom. I picked out hardware for the cabinet last week, a task that was much more difficult than I anticipated! After too much deliberation, I went with the options that first caught my eye, knowing I can always replace the hardware later if I really end up hating it.

The corner light turned out to be another tricky part of this project. I've been on the lookout for a decorative light fixture for this part of the room, but it has been hard to find something that would work. I really wanted a hanging pendant, but because there will likely be an ottoman below it, the light fixture cannot hang down too far or we'll hit our heads on it. I'm not a fan of flush-mount fixtures, so as a compromise I started looking for "semi-flush-mount" options. This is the fixture I purchased, shown temporarily hanging up to see if I liked it enough to keep it.


I haven't returned it yet, so at this point I think it will be staying!
Thanks for following along with our bathroom remodel! I will share more photos in December as we wrap up this project and move on to the next one!
jp


27 November 2015

Feline Friday: In the Spotlight!

Everyone -- well, at least Lily -- dreams of her moment in the spotlight!

Look, mama! I iz a famus danser!

Look, mama! I iz a fancie moddle!

That's right, Lily! Keep dreaming those spotlight dreams! :)

23 November 2015

On Break

Hey, ya'll! :)
I'm taking a brief blogging break this week -- with the exception of Feline Friday, of course!

 Meanwhile, I'll leave you with this seasonal picture of Lily from a few years back. I wonder why no one wanted any pie that year. :)

 Hope everyone has a lovely Thanksgiving!
 jp

20 November 2015

Feline Friday with Rory

 Bailey's kitty Rory is quickly taking over her apartment! She's got all kinds of fun toys -- even more than our kitties! -- plus a brand new cat tree!

 I love it when Bailey texts me cute photos like this:

 Look at those beautiful gold eyes! Tinsel has green eyes, so those gold eyes always take me a bit by surprise. AND LOOK AT THOSE EARS! I think Rory still has some growing to do, but the vet thinks she'll stay on the small side.

  Maybe she'll just have over-sized ears. They just add to her extreme cuteness!


13 November 2015

Feline Friday: Cat on Couch!

 I recently texted this photo to Bailey:

Her reply: What? Tinsel's on the couch?

This may seem like an ordinary sort of photo but to us, it's quite unusual! In the 14 or so years we've had Tinsel, she has NEVER sat directly on the furniture. Sure, she will perch on the back of the couch to look out the window -- but lie directly on the cushions, FUR TOUCHING UPHOLSTERY? NEVER!

This event was so unusual that it even attracted the attention of Lily, who has no issues with sleeping on the furniture (or anywhere else, for that matter). "Whoa, Mom! Come look at this!"
It's shocking, I know, Lily! Don't worry, it will probably never happen again!

Happy Feline Friday! 
Hope you get to lie on the couch today! :) 
jp

12 November 2015

Recipe: Black Bean Avocado Salsa

A couple of weeks ago, I made Black Bean Avocado Salsa to take to a party. This is a fantastic salsa to serve with tortilla chips, but I don't make it very often because it makes a LOT. Unfortunately, it's a difficult recipe to cut in half because it calls for full cans of this and that. But if you need a great salsa to feed a crowd, this is your recipe! It's colorful, fairly good for you (LOOK! VEGETABLES!), and easy to whip together. I hope you'll give it a try!
 
--- Black Bean Avocado Salsa ---

Mix together:
2 cans black beans, drained
1 can white corn, drained 
1 can Mexicorn, drained
1 chopped red onion
1 can petite diced tomatoes
6 green onions
3 chopped avocados
2 diced jalapenos (or 1 small can)

Mix and pour over the vegetables:
1 package dry Italian Dressing
1 cup oil (I used 1/2 cup oil and 1/2 cup water)
1/2 cup vinegar

Refrigerate at least 2 hours before serving.


11 November 2015

Painting Bottles

Lately I've been trying to do some of the projects that have been hanging around on my to-do list for far too long. 

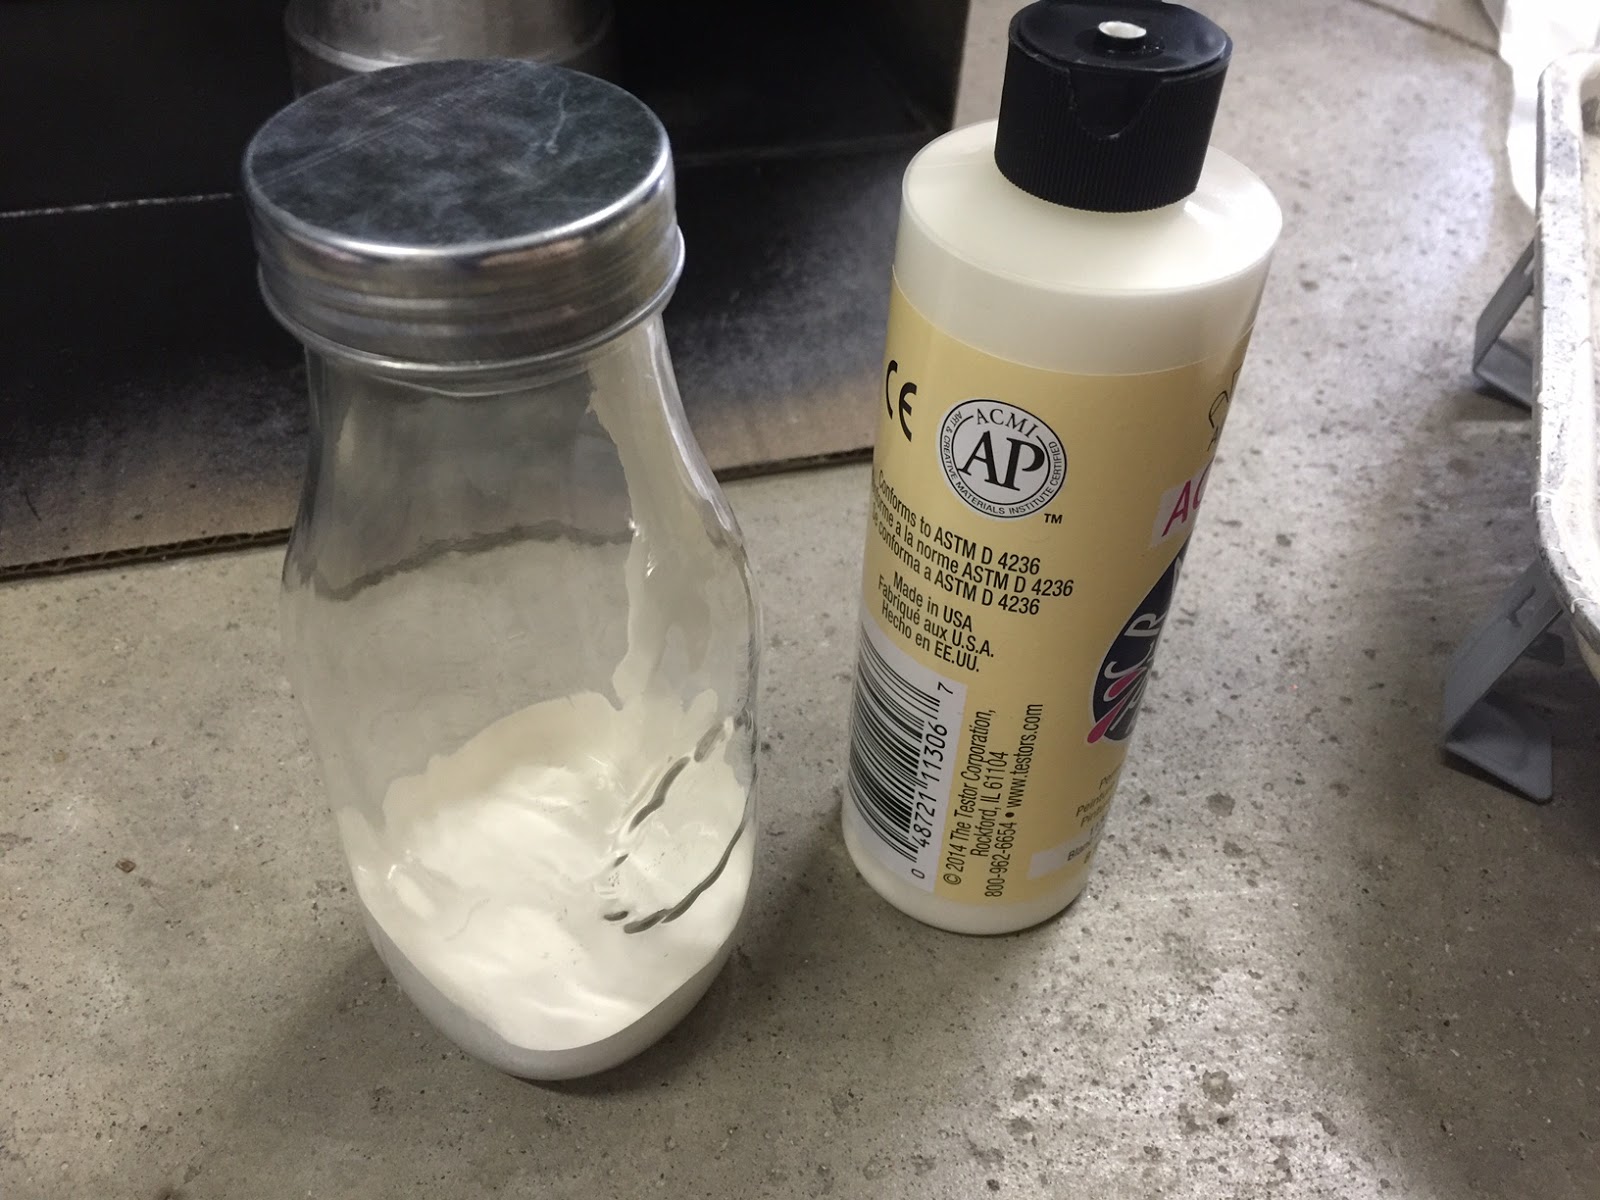
Like this one. I picked up these milk bottles in the Target Dollar Spot a couple of years ago with the intent of painting them. I'm just now getting to it. Good grief! This project is super easy so there was absolutely no reason to put it off.
 

Before beginning, I read a few blog posts on painting bottles with acrylic paint so I could see that it was going to be a very straightforward project, but nevertheless, I learned a couple of things along the way!

Painting the inside of the bottle allows you to see the paint through the glass, leaving a nice, glossy finish. It's helpful to use a jar with a lid because after squirting paint in the bottom of it, you need to shake the bottle. (And I know from experience that you should only shake a bottle when the lid is on! haha...)

 I found that cheaper acrylic paint worked best for this project because it was a bit thinner and coated the insides of the bottle very easily. In retrospect, I'd recommend squirting just a little bit of paint in the bottle and then shaking it to see how well it covers before going crazy and squirting in a lot more paint.

When you're done, take off the lid and let the bottle sit upside down overnight. During this time, all the excess paint will run out of the bottle. Turns out I had WAY too much paint in my bottle and this created quite a mess which got on the outside rim. It was fairly easy to clean up but it would be best to avoid this problem!

I also purchased some smaller (more expensive) bottles of green acrylic paint. Maybe the paint was old to begin with, but it was VERY thick and did not coat the bottles readily. I probably could have thinned it with water, but instead, I again put WAY too much paint in the bottles. The gloppier (is that a word?) paint resulted in a very thick coating which took DAYS to completely dry!

 Because acrylic paint is water-soluble, you cannot fill the bottles with water for fresh flowers. My plan is to fill them with artificial Christmas greenery. I'll share pictures when I finish them up!

In summary, I LOVE the end result and will definitely paint more bottles in the future, but I'll use thinner paint (and less of it) next time!
jp

10 November 2015

Garden: An Off Year

 I read a lot of blogs and I'll admit that sometimes they leave me discouraged. I see beautiful projects, tidy homes, organized spaces, LIVES WITH MEANING...and I think:

WHERE AM I GOING WITH MY LIFE? 
WHAT IS MY PURPOSE?

Do you ever feel the same? I feel stalled and stuck much of the time, and while I do accomplish some things, I am not sure I'm using my time on earth for the greatest good. It's a question I'm wrestling with a lot these days.

The reason I bring this up is that I always want my blog to be authentic. I want to be honest and write about the things that are on my mind. And I assure you, I'm not all sunshine and roses! I'm not nearly as productive as I'd like to be, and here's a case in point: MY FLOWER GARDENS.

During the summer of 2014, I hired a consultant to sketch out new designs for my garden. I didn't pay a huge amount for this service, but I was pleased with the plans and looking forward to starting on a major re-vamp of my gardens in the summer of 2015.

So what did I accomplish in the summer of 2015? 
NOTHING.

Re-doing all of my gardens is a HUGE project and I got a bit hung-up on the scale of a massive overhaul, so I avoided it altogether. In addition, other events (our daughter's graduation in May, moving her back to Bloomington in June, and being "on the ready" all summer to move her again for her new job) made me feel like I couldn't carve out enough time to tackle it. 

At one point I thought I'd start on the side garden which is narrow and would be easiest to re-do. Nope. Didn't even do that one.

 So this past weekend, I took the hedge trimmers and cut it all down. Honestly, I'm frustrated with myself for letting the whole summer go by without even starting on one phase of this big project. I told myself that I would spend the summer working on the boxes in the basement, and while I made some progress, that project is not done either.

So now I look out into the gardens and I see nothing. It's certainly better than the ugly mess that was there, making me feel guilty for my lack of progress. I'm trying to look at it like a clean slate.
A point for me to remember is that I do not have to wait for "conditions to be perfect" in order to start a project. If I wait for that moment, it may never come and I'll accomplish nothing. It's far better to break a big project down into doable chunks and get started, then let the momentum carry me on to the next phase.

I know this. I just need to apply it to my life! 
And my gardens.

Thanks for reading!
jp


08 November 2015

New Bar Cart Project

 Stand back...I am on a teeny tiny roll! HA! 
I finally got up the gumption to tackle a new bar cart project! But first, do you remember THIS bar cart?

 I'd like to say I use it mainly as a lovely tea cart or coffee station, but that would not be completely accurate! Most of the time (at least on the weekends), it functions as a bar cart. I'll share more pictures in a future post, as we've now outfitted it with quite a bit of fun bar ware. Now, gentle readers, I do not want to give the wrong impression here: We use it only for an occasional drink now and then on the weekends. But if we ever had a party, we'd be set! :)

The rehabbed bar cart came from my dad's shop, where he used it as a tool cart. Prior to that, my grandma used it as a dessert cart for Sunday dinners. So the cart is now having it's THIRD life! I love the fact that it was used so much by people I hold dear in my heart.

So now this is my next project:

 This cart also came from my dad's shop. You can see in the above picture that I strung a zip-tie around the leg and labeled it with my name so that it would not accidentally be sold at the auction. :( I've had this cart in the garage for two years now, waiting until I felt emotionally ready to tackle it.

This is what I want to do with the cart, in colors to match my craft room. I cannot express how much I love this inspiration photo!
This past week, I tried sanding the bar cart with a couple of grades of sand paper. UGH! I sanded enough to learn that the cart was originally painted red. But several coats of brown paint have left the surface very rough. What to do? I COULD use contact paper on the shelves like I did on the other bar cart, but that's not really the look that I'm envisioning for this one. 

The process of sanding made me think of my dad. If he were here, he would sand blast it for me. (Well, if my dad were here, I wouldn't have the cart in the first place, I guess...) *sigh*

So Spouse and I took apart the cart and after closer inspection, we decided it would be worth spending a bit of money to have a friend sand blast it, which will provide a nice, smooth surface to spray paint. Hopefully I'll get it back soon and can get started on this project!
jp


07 November 2015

Even More Spray Paint Fun


Well, it's only taken me a full year, but I finally spray painted this little copy stand. I found it at the Indiana University Surplus Store last fall, along with a few other treasures.

 Now it's a happy shade of lime green, perfect for my craft room!
VERY slowly but surely I'm getting a few things done! :)
jp