Showing posts with label Photo organization. Show all posts

20 June 2021

Memory Keeping: Organizing Slides


Have you ever put off something because it just seeemed too daunting? That's how I've been feeling about my boxes and tubs of family slides. What's on all those slides? Do I really need them? It seemed easier to just leave them in the tubs!

But, as seems to be the case lately, one thing led to another. In working on my personal school years albums, I knew I'd have to dive into those slides to locate school-related images. There was no turning back!

First, some context (I'm always all about context):

When I was growing up, we took a lot of slide film, much more so than camera film. We had a projector and screen that I absolutely ADORED setting up in the basement. I "curated" slide shows for my parents, cousins, neighbor kids, or anyone else I could get to watch. Sometimes I even set up the record player so we'd have music to go along with the presentation and spice up my narration. As soon as we'd come home from a vacation, I'd start planning our slide show.

In those days, I'd organize the slides into circular trays then meticulously write a caption for each one on the lines provided on the sides of the box. I started doing this in elementary school and continued through high school. As you can see, I truly was born to be a memory keeper!


Fast forward to 2013: After my dad passed away and I had empty my parents' home to sell it, my first priority was to find all of the family photos and slides. Sure enough, the slides were just where I'd left them...but more had been added since I left home many moons ago -- boxes and boxes. Since I hadn't been there to organize them, they were in a big mess.

 I carefully emptied the slide trays from my childhood and kept the lists to go with each one. I packed everything in tubs and brought it home.


Several months ago I bought some packages of slide sleeves, knowing this was a project that I'd eventually have to tackle. I didn't know if I'd like them but I DID know that sleeves would surely be better than broken rubber bands! At least sets of slides could be kept together and safely preserved.


So here's the process I used to get this mess of slides under control: 

1) Physically organize the loose slides into archival sleeves, sorting by date/subject

2) Digitally organize and label the slides that have already been scanned

3) Decide which additional slides to have digitized and drop them off at a local shop

4) Print and add selective images to my scrapbooks


Physical slide organization:

The first step was to group sets of slides together so I could figure out what they were. Although slides are obviously cumbersome to work with (you can't see them without a light source), there are two things that make them a bit easier than photos: 

1) Unless they're in a plastic housing, most slides are numbered with an imprinted or stamped number
2) Most slides have a date on the cardboard -- this is the "developed on" date, NOT the "taken on" date but it's a whole lot better than no date at all!

I slogged my way through mixed up tubs and tiny boxes of slides, putting them back in their proper sets by date and then into numerical order. I grouped them temporarily with rubber bands just to keep them corralled. Trust me, don't use rubber bands for the long haul. They'll break and your slides will get all jumbled together. Slide sleeves are the way to go.

 As I worked on this project, I felt the joy of newfound "ORDER" washing over me!
 

Once a sleeve was filled, I could hold it up to a light source (I used a blank MS Word document on my desktop computer) to see 20 slides at once. This makes it easy to pull out any duds and see if they're slides I want to have scanned.


To look at the slides more closely, I am using a small handheld slide viewer. My parents had a larger one (WHY, OH WHY DIDN'T I KEEP IT?) but this one is getting the job done. We do have a slide projector but unfortunately the bulb was broken and will need to be replaced.


 Digital slide organization:

When I first brought all of our family slides home a few years ago, I took many batches in to be digitized.

When you have slides digitized, they'll come back to you in a jpeg format. My developer used a numbering system for each set of slides but I'd never spent time on labeling the files. This was my next task.

  I used a consistent format as much as possible, naming the folder with the date and subject (1975 California Trip), then each jpeg file with the labels I found on my slide list (1975 California Trip - Disneyland). I'm not ready to scrapbook those years yet but it's great to know that those images are digitized, findable, and ready to go.


  As it happens, I have a couple of my diaries from my childhood years (truly hilarious reading) and some entries correspond to family vacations. I have to give a shout-out to my nerdy childhood self for writing down everything we did and saw on some of those trips, because now I can identify the California "Trees of Mystery" and other points of interest along the way. It has been fun to read my diary and look at the slides! I'll be sure to include those diary entries when I eventually scrapbook those trips.😎


  Decide which slides to digitze:

Will I digitize each and every slide? NO! It's not cheap to have them digitized so I will be selective.

Will I print and scrapbook each and every slide? NO! To save space in my albums and save time, I'll probably make a lot of photo collages using the slides, adding digital labels to the photos as I go. It's quick and easy to print off an 8.5x11 collage and slip it into a sleeve for the scrapbook. Collages work great for making the best of "less than wonderful quality" images, too.

With all the slides in sleeves in a binder, temporarily labeled with sticky notes, I'll be able to go through them and decide which ones to have digitized. Since they're already in sleeves, I'll just take them to the scanning shop intact. This will ensure that they're scanned in the right order and placed in labeled folders. 


So circling back to what started all of this, one might ask: Did I find the school-related slides I knew must be hiding in those boxes? 

Yep, I did! First day of school pictures for several years, band, prom, homecoming, and much more. As soon as I get them digitized, I'll be able to print them and slip them into my school albums.

But all in all, there weren't a ton of school photos in our family's slides. What I did find was a host of precious images of camping trips, fishing adventures, vacations, birthday parties, pets, and so much more. In spending so much time with these images, I'm left with an overwhelming feeling of gratitude.


So yes, it's absolutely worth the time to tackle this daunting project. In retrospect, it wasn't nearly as bad as I thought it would be. Now I feel SO MUCH BETTER about my slide situation!

And if my parents could see me STILL organizing slides, I know they'd be smiling! I haven't changed a bit. 😀


18 November 2019

Too Many Sheets!

After last weekend's organization project, I tackled our skinny linen closet. It was absolutely PACKED FULL -- I mean things were actually SHOVED IN THERE, I'm ashamed to say. I have no idea how it got this out of control but it was clearly way past time to deal with it. I consider myself an organized person but this closet was so bad that I have just completely ignored it.


Now seemed like a good time to tackle the linen closet because the new mattress we just ordered is a different size than the one we have now. It makes no sense to keep sheets for mattress sizes we no longer own and probably won't have in the future. 

Well, it turns out the entire closet was full of sheets that no longer fit. For instance...

There were sheets for my daughter's old twin bed which has long ago been replaced with a deeper, more comfy twin bed. So the old sheets no longer fit it.

There were sheets for our old queen-sized mattress which has also been replaced with a pillow-top bed. Because it's much deeper than our old mattress, none of the old sheets fit our newer one.

The new mattress we just ordered is a full size and replaces a very, very old extra long twin bed. As a result, all of the extra long sheets are no longer needed in this house.

By the time I sorted out all the sets we no longer need, I realized we actually have no extra sheets for our daughter's bed or our own bed. That's OK because we just wash them and put them right back on. Right now, we have no sheets at all for the new bed which arrives next week.

BUT we do have plenty of gently used sheets that will hopefully go to families who can use them! I was excited to make a delivery of two full laundry baskets to our local hospice thrift store. I hope that all of these sheets will soon be on their way to new homes!


 In addition to the sheets, one entire shelf was taken up with light bulbs of every possible shape and wattage. After sorting out those we no longer need, I took an entire box to our local Habitat for Humanity Re-Store.

The end result is not glamorous, but now there is a bit of extra space in the closet -- and the door actually closes! Why did I wait so long to tackle this project?
 

On to the next one: Cleaning out all the drawers in each of the bedrooms. YIKES!

16 February 2019

A Mini Craft Room Re-Org

Sometimes a little re-organization project can give you an unexpected psychological boost. I recently tackled a mini "re-org" in my craft room and was surprised at how much better it made me feel! 

This little project started with "just" moving a shelving unit out of necessity. Since I've been trying to catch up on my scrapbooking, I've filled up the bottom three shelves on this heavy-duty shelving unit. As a result, I've had albums on the floor collecting dust bunnies -- not where they should be!
 

Having stuff on the floor made the space feel messy to me. I've learned that I function best in an orderly space so it was time to re-gain control and get everything up off the floor, at least as much as possible.
 

 So recently I got the idea to move the shelving unit to the other side of the room so that I could fit albums onto the top shelf, too. As you can see in the first photo, the slant of the ceiling didn't provide enough height to accommodate a 12" album. The ceiling on the other side of the room is much higher.
 
Of course, the shelving unit had to be unloaded to move across the room. This was not a bad thing because it allowed me to give everything a good cleaning and finally get the albums into the right order!

 With the shelving unit on this side of the room, I can fit albums onto the top shelf.

All of the albums -- even the albums I'm working on right now -- fit perfectly onto the shelving unit...but unfortunately with no room to grow. And I have several more albums to make so I'll definitely need another unit at some point. But for now, it feels GREAT to have everything up off the floor!

 Seeing all the albums in place was a really good feeling! It can be easy to get discouraged when you are so many years behind in your scrapbooking. This is a good visual reminder that I AM making progress. YAY!

  Next, I moved the small table to the wall where the shelving unit previously sat. Now that it's there, I can see that would have made more sense to put it there years ago!

Naturally a "little" project like this tends to have a domino effect. Since I filled the top shelf with albums, I had to find space for the photo boxes and baskets that previously sat up there. I was able to make room in my cubbies for most everything. The boxes on the floor are for projects I'm currently working on.

That top shelf used to hold a lot of photo boxes which are now -- happily! -- partly empty, so I consolidated and re-labeled several of them. This task was also long overdue and gave me a good feeling for how many more photos still need to be scrapbooked.

Answer: A LOT! 😅

I shifted them into the closet where they fit on this small shelf pretty well. Theoretically, as I finish up my scrapbooking for the past years, I should be able to eliminate more photo boxes. But I must keep in mind that I have several years of photos not yet printed which would likely fill those boxes...so, it's complicated, as they say! :)
Since everything has been moved around and tidied up, I feel so much better in the space. This simple move was an opportunity to assess my progress and get my arms around the tasks that still need to be done. It's funny how such a simple little re-organization project left me feeling re-energized.

A little tidying up goes a LONG way -- physically and mentally!

jp


26 March 2018

Catching Up on Scrapbooking

Is there even such a thing as catching up on scrapbooking? Yes, I do know people who are "current" in their scrapbooking, but I'm certain that will never be me...or at least not for quite some time!

Last month I started back in on the "catch up" project I've been working on, finding myself mired in a box of photos from 2004. I had started an album back in the day but only completed a few pages. My task now is to use mainly pocket pages to fill in the rest of the events. Using a 3-ring binder is the best/easiest/ONLY way to accomplish this task, as it makes it simple to move pages around and mix in sleeves of different sizes.

After a few long sessions of scrapbooking, I've accomplished a lot! That full box of photos began to empty out in a most gratifying manner!

 I must say I'll be happy when I eventually arrive at the era of 4x6 prints! These older photos are all 3.5x5 and must be matted to fit into the pockets. Back in those days I was also printing pictures with white borders, a feature that sometimes has its advantages...but not always!
 

I spent the better part of the weekend working on this project, putting photos on simple pages and into sleeves. I still have to go back and add journaling and embellishments which will take some time, but the hardest part is done!

 A lot of my time was spent working with memorabilia I've saved. The system I set up a few years ago has worked really well! I have four hanging files for each year, so when I start working on a particular month I can just pull out the file to find concert programs, maps, ticket stubs, and other treasures from the past. By using the binders, I can easily slip those items into smaller sleeves interspersed between the pages. I did, however, run into some trouble when I discovered I'd mis-filed a lot of my stuff! Good grief...

Here I just cut out the description of the photography camp Bailey attended and added it to a page. While working on this section, I found all the letters we sent to her at camp, as well as the distress letter she sent to us when she was homesick! It wasn't funny at the time, but it sure is today! :)

 For this section, I included a brochure and program from our Girl Scout overnight.

 I had previously made a few pages for this album like the one at the left, so I just made sure that the new pocket pages matched up with them when possible. I'll add a few captions to those pages and call it good.
 

 These pages are nothing fancy at all...just matted photos slipped into pockets with a little bit of journaling. Here I left some space to add a title and journaling at the left.
  

 It feels really great getting these pictures into the scrapbook! The page at the left is an old one featuring a favorite photo, and at the right are pictures of my late grandma's house which I took right before it was torn down. It was a very special place to me so I'll be sure to add some journaling with my memories.

Now the box is much emptier! This is proof that if you actually work on something -- even something daunting! -- you can chip away at it until you make progress! Those pictures aren't going to scrapbook themselves, and no one else is going to do it for me...that I know for sure!

 
One unexpected development: I realized we went to DisneyWorld in 2004 and those pictures are in a separate box...still to be scrapbooked! Vacation scrapbooks can be very time-consuming but on the other hand, it's always fun to work with Disney photos! After this box is empty, I'll start on that project.


If you've got a backlog of photos to be scrapbooked, take heart! It CAN be done...if you just get started!

 Onward! Stay tuned for more exciting reports! 😄
 jp


06 April 2017

Scrapbooking: So Many Pictures!

Do you ever have a period of time when you want to be productive but your brain power is completely spent? That was me last night. I was ready for a mindless task! So I pulled out some boxes of potentially unscrapbooked photos and thought I'd at least remove the duplicates so I'd have a better idea of how many photos need to be added to my 3-ring binder scrapbooks.

If you recall (and I know this is riveting!!!), I spent last week mired in 2001. Last night I worked ahead on two boxes of photos from 2002. This task turned out to take a little more brain power than I anticipated, but I have to say I'm super-motivated to continue after the progress I made!

I spread out on the couch with two boxes of photos and the lone scrapbook (plus a vacation album) from 2002. There would normally be at least two scrapbooks completed for a given year, so I suspected that there were LOTS of events in those photo boxes which haven't been scrapbooked yet. That turned out to be true. For some unknown reason, I really jumped around in 2002 with my scrapbooking, leaving LOTS of events undone.

My photos are organized in small boxes with monthly tabs which made it easy to go month by month, removing one month at a time. My goals were simple:
1) If the photo is in the scrapbook, the duplicate in the box gets recycled.
2) If the event has not yet been scrapbooked, then I'll keep only one set of photos and recycle the duplicates.

By doing these two things, I hoped to get a better handle on exactly HOW MUCH needs to be scrapbooked for those years. I'll use pocket pages to quickly add those photos to the scrapbook.

 GUYS: Here's how exciting this is! I started with TWO boxes of photos for 2002, and by the time I was done, I was left with HALF of one box! This means that while I still have lots of photos to add to the albums, I have FAR FEWER than one would think given the two very full boxes I had at the start.

Look at this box of duplicate photos. It weighs even more than Lily! :) This represents duplicates from only 2001 and 2002 -- only two years! SERIOUSLY, those photos were taking up a lot of space...and they were sucking the motivation right out of me!
Before I do any more sorting like this, I'm going stop and put my 2001 and 2002 photos into pocket pages and get them into the albums, along with the memorabilia I've kept for those years. Then I'll proceed to the next year in the same fashion. 

What would it feel like to have this photo mess under control? It's going to be great! It may be premature to say this, but I feel like I might be on the tiniest little bit of a roll!
jp


02 April 2017

Scrapbooking: The Big Question

I had some time set aside yesterday to work on my album conversion process and made really good progress! My goals in starting this project are listed below for my own frequent reference, so I remember why the heck I'm putting myself through this:

** All photos in this house need to be in some type of album, not unmarked in a box. 
** OK, I'll accept photos in a box if they're in some semblance of order. 
** And duplicate photos which have already been scrapbooked shall be recycled. 
** Furthermore, boxes of memorabilia saved for the scrapbooks shall actually be put in the scrapbooks.
** The multiple boxes of school papers hidden in the basement shall be dealt with at a later time (should I survive this project!) and reduced into their own binders.
** The myriad cat layouts shall be incorporated into the chronological scrapbooks.
To accomplish these goals, I am converting my chronological post-bound albums to 3-ring binders. Binders Make All Such Things Possible!

As I work on this project, I'm keeping my recycle bin full as a visual motivator!
 
My random-but-not-random starting point is 2001, which is the oldest album I converted. After more sorting and double-checking, I finally cleared out the entire photo box. This was cause for celebration! I ran to Starbucks for a latte because I knew it was going to be a late but productive evening.
 
 
 I set aside a few photos that need to be scrapbooked in one form or another and thought I was ready to tackle those pesky memorabilia files. 

 But then a very scary question came to mind -- and I'm sure it's one that many of my fellow scrapbookers know well...
 
ARE THERE MORE PHOTOS SOMEWHERE ELSE?

When I stopped to think about it, I knew the answer to that question, but I had buried it deep in that murky part of my mind which contains Things I Don't Want to Think About.

So I ventured upstairs and confirmed my fears...YIKES! 

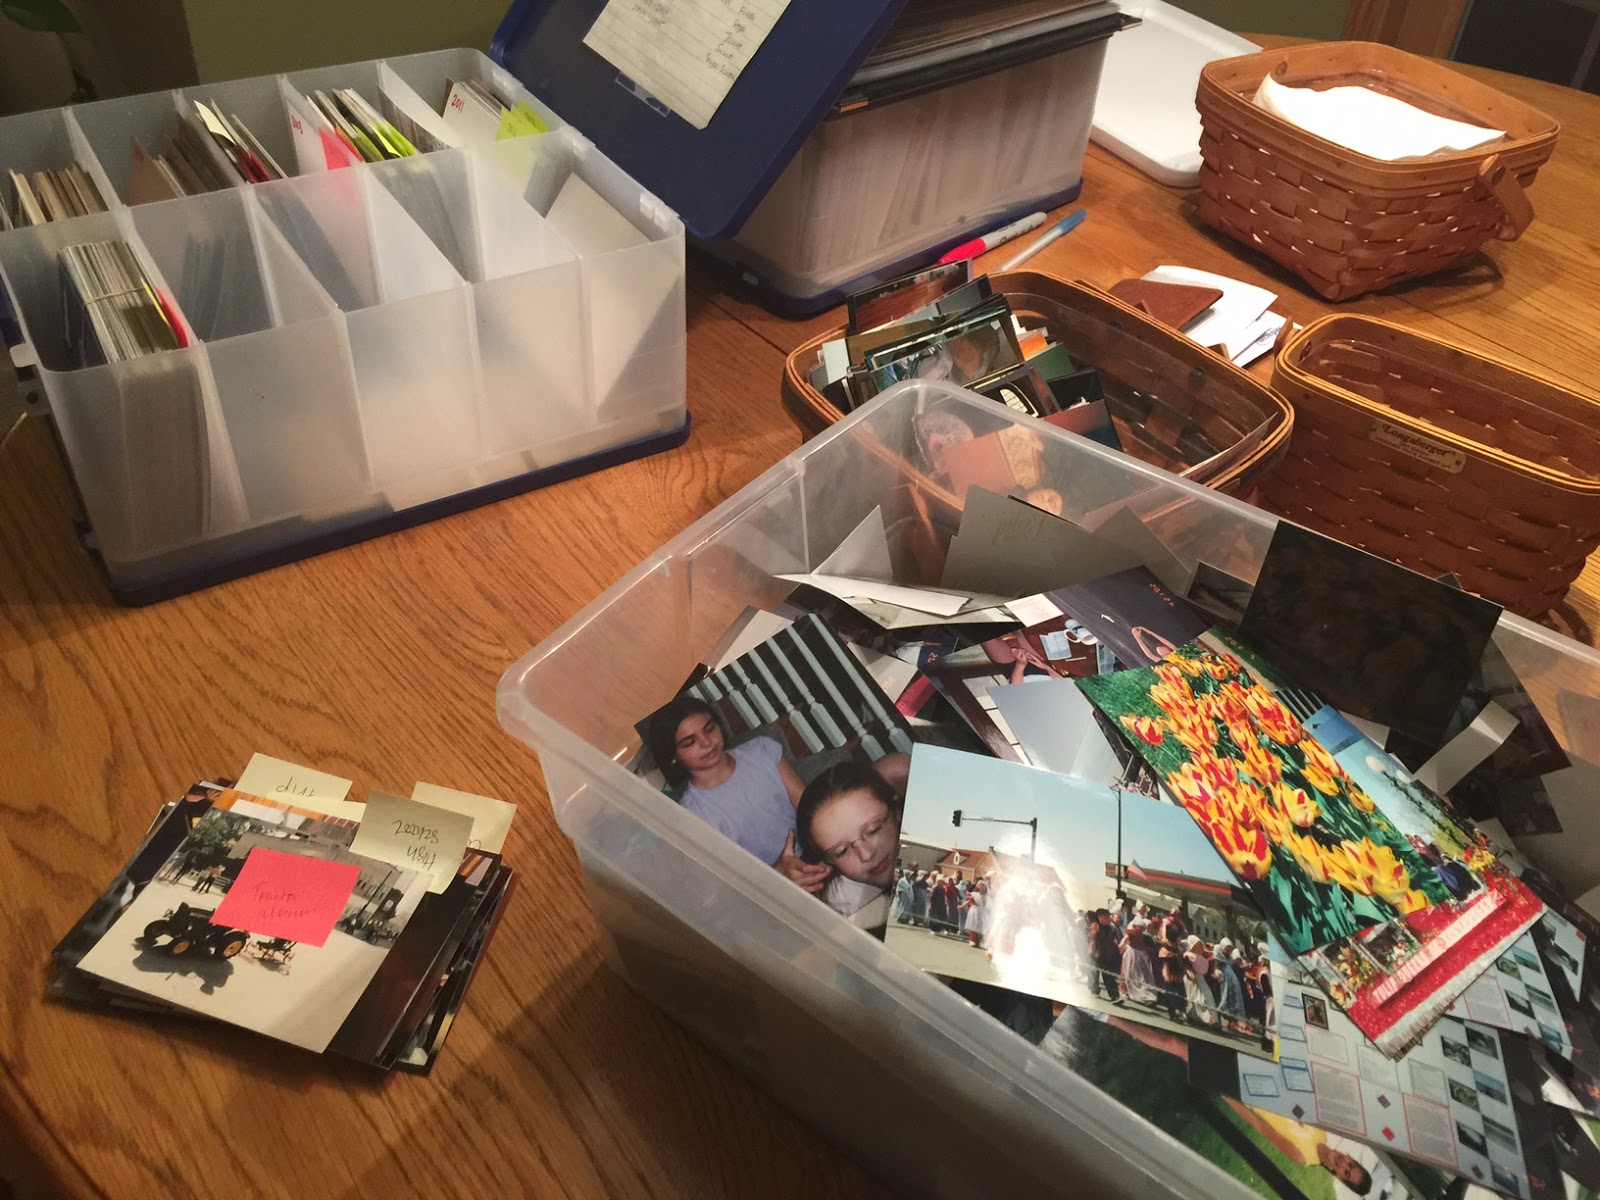
There was the box, in all of its unsorted glory. I know this well and say it often: Before you can scrapbook confidently, you have to have your photos in order and accessible!

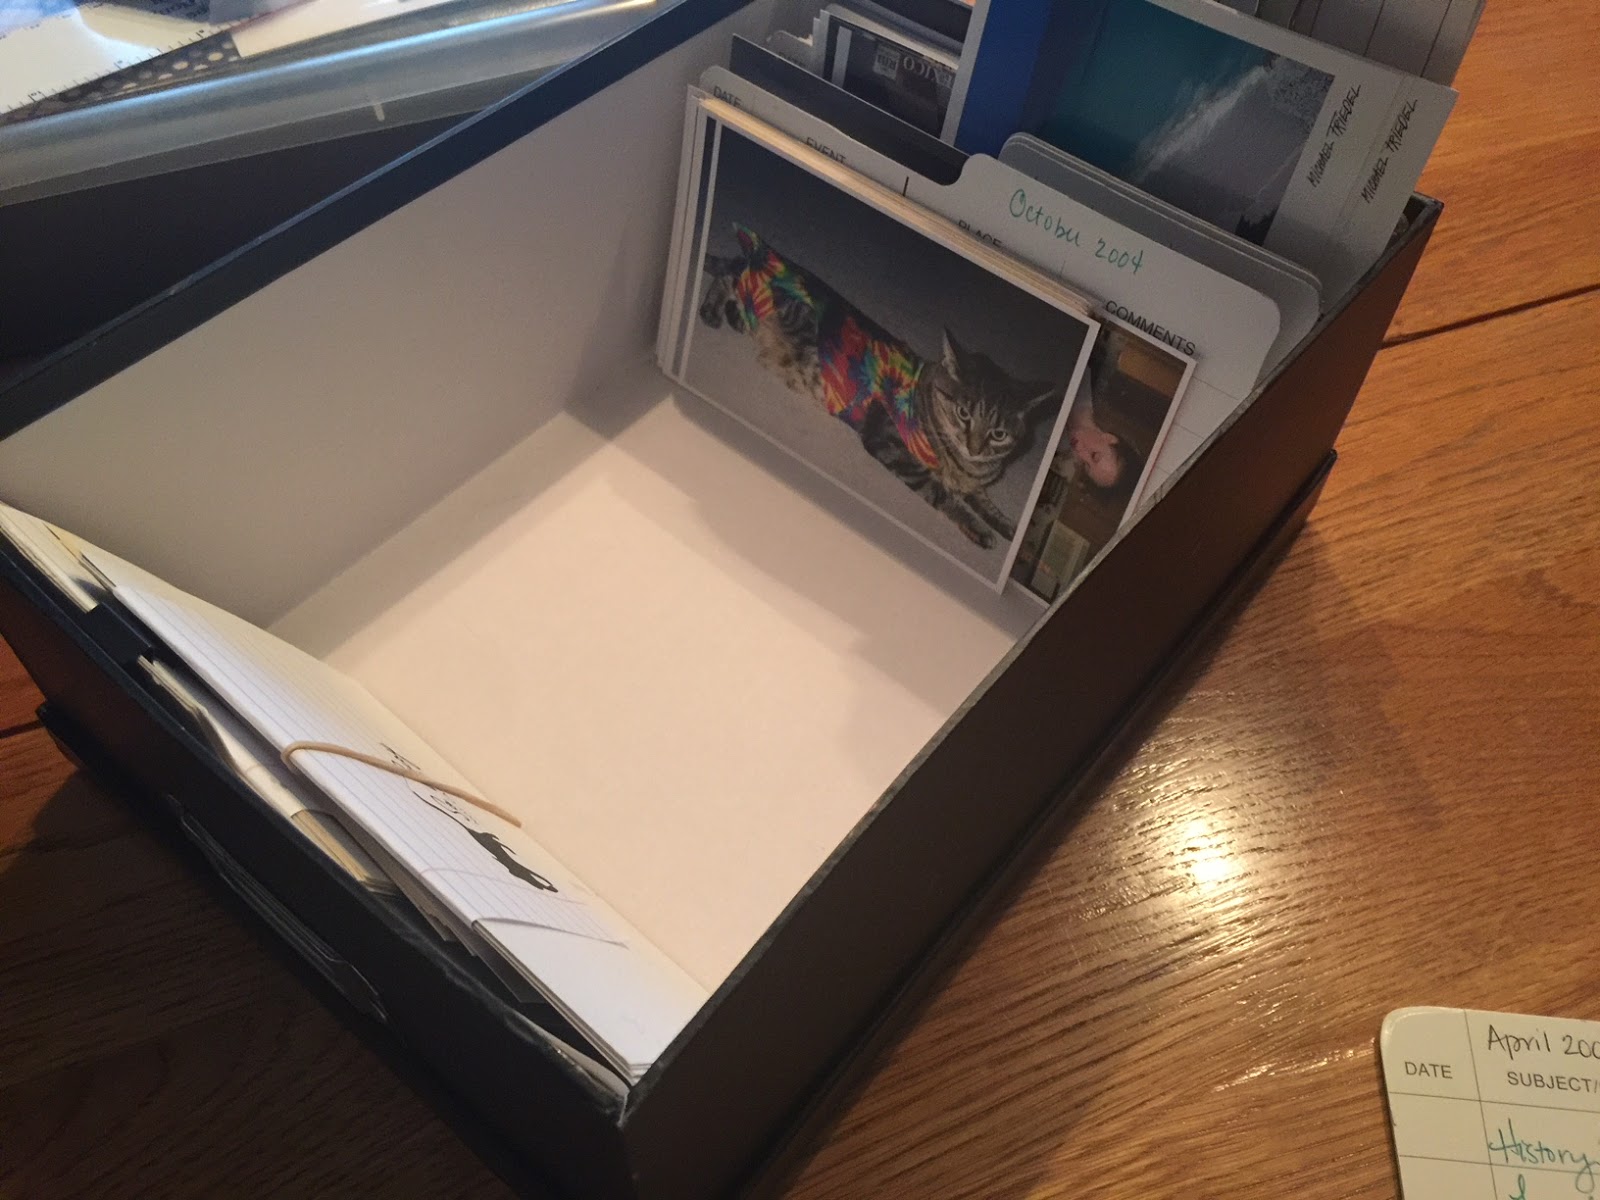
"How did this happen?", you may (or may not) be asking. Well, I'll tell you. Photo organization has always been important to me. My printed photos are kept in small boxes and indexed with dates and events. 

 But things went awry a few years back when I brought home massive amounts of unorganized photos from my parents' house. Some of those photos were duplicates of my own photos, and others were pictures my mom took.  A few years later, I brought home another large load of photos from my grandma's house, further exacerbating the problem. Long story short: Those extra photos never made it to my organization system. I vaguely remember starting to work on it but giving up in discouragement.

HEAVY SIGH.

So I made myself a pile of index cards with All The Dates and began sorting. Not how I planned to spend the evening but hey, it needed to be done. I turned on the TV and got to work.
 

I got no help from my helper who was busy tending to her personal hygiene!
 

Two basketball games later, I finally made it through the entire box, setting aside a good chunk of photos with no dates, and felt pretty good about my accomplishment.
 

Look at these nicely organized photos! I did a brief happy dance...
 

  but then the question came to mind again:
ARE THERE MORE PHOTOS SOMEWHERE ELSE?

 And unfortunately, the answer was yes! OH, NO!!! There was indeed another box, partially filled with unsorted photos from the time periods I'll be working on.

So the photo sorting continued way into the night. My latte was gone and my helper had bathed all possible body parts.

I eventually made it through all of those photos but I now have a very big box of undated photos that still must be sorted. The takeaway lesson here is if you're printing photos, put the date on the back!

And the other takeaway lesson is this: HAVE ONE ORGANIZATION SYSTEM. If you choose to sort photos chronologically, then pull them all together to do so. If you separate photos by subject, make sure you have all of your subject photos in one place.

I'm reminding myself that while daunting, this is just small detour and taking care of this Bad Photo Situation now will help me throughout the rest of the process. My helper and I shall not be deterred in getting all of this under control!
jp