13 December 2013

Feline Friday: The Imposter!

 If you've read my blog, you may remember that Lily spends most of her time conspiring about ways to steal Tinsel's food. And Tinsel is so skittish that she allows it to happen, time and again. It has been funny to watch Lily's devious little mind come up with new schemes from time to time, like this one which I'm calling THE IMPOSTER!

 The Scene:
Here's Tinsel in her daily position, waiting for dinner to be served. You can always tell when she's hungry because she sits in The Position, next to the box I use to elevate her food. (She's a picky eater and I do whatever it takes to get her to eat!)


The Scheme:
This week, look who was sitting in The Position, posing as Tinsel! Honestly, Lily, did you think I'd fall for this? LOL
  

07 December 2013

Knock-Off Photoshop Title

I'm a little embarrassed to say that I'm not a Photoshop person (at least yet). Nothing against it, but I've just never taken the time to purchase and learn it.

As such, I have learned to do pretty much everything I want to do using Microsoft Word. And there's a part of me (OK, quite a bit of me! LOL) that enjoys the challenge of using the resources I have on hand to mimic something that should take quite a bit more. Kind of like knock-off decor, right? Here's a case in point!

Awhile back, I saw a great Photoshop tutorial on the Creating Keepsakes blog about offset titles. I have always loved the look of offset printing, and I knew right away that while Photoshop MAY make it easier there is no way you NEED Photoshop to achieve this look!

This is the piece created in Photoshop using the technique described in the tutorial. I love the look and thought to myself...OK, challenge accepted! :)

First, I identified the various elements I would need to recreate:
* Large block text at bottom...okay, no prob!
* Outline text slightly offsetting the block text...sure, there is an outline feature in Word!
* Small script text word at top...easy!

So I created three text boxes in Word, layering them and positioning them to achieve the same look. With a little knowledge of text boxes, this is a very simple process.

 1) Block text: I opened a Word document and created a blank text box with the "fill" set to to "no fill" and the wrapping set to "tight". Then I typed a large title in a blocky font. I chose the font "Impact" and set the size at 72. I chose this font because its chunky letters are all the same height. I selected a light color so my outline would show well.

2)  Outline text:  Next I copied and pasted the same text box elsewhere on the blank page, changing the wrapping to "in front of text". (This allows the outline text to sit directly on top of the solid text without hiding it.) In the "font" box, there is an option for "text effects". With the text highlighted, I chose a solid black outline and set the fill to "no fill".
 

3) Layer the two text boxes: Then I simply layered the solid font with the outline font by positioning the text boxes on top of each other. I looked carefully at the original example to see exactly where the outline was positioned in relation to the solid text. As you can see, the outline is slightly to the left of the solid text.

4) Small script text: The final piece of this title is the small text at top. I created a blank text box, then chose a scripty font. There are many options for this, but I chose my favorite script font "Jenna Sue" and set the size to 26. I set the text box fill to "no fill" and the wrapping to "in front of text".

5) Final placement: Finally, I put it all together by sliding the script text into place. Once the pieces were positioned properly, I simply grouped the text boxes so that the three elements would stay linked together, wherever I moved them.


There you go! Easy layered title in Word. No Photoshop required. If you're not a Photoshop user, I hope you'll give this a try. You'll see how easy it is to create great titles with no fancy tools whatsoever! :)
Janet


06 December 2013

Feline Friday: Precariously Perched

 This past week, one of the last ladybugs of the season made its way into the house. Lily (who knows virtually nothing about bugs) immediately spotted it, following it all around the house and up the stairs. When the ladybug flew up to the hallway light, she got as close to it as she could -- on the upstairs banister!

It may not be obvious from this photo, but there is a two-story drop from that spot! She has fallen once or twice from this railing over the years, and it's a long way down. Lily has many talents, but jumping and climbing aren't on the list!

 So I stood very quietly behind Lily as she watched the ladybug, hoping she wouldn't get some crazy idea to go any higher! Luckily the ladybug zipped off to another area of the house, and Lily hopped down in hot pursuit.
 
WHEW! :)

04 December 2013

Thanksgiving Blessings

 After the year we've had around here, I have been dreading the start of the holiday season. Holidays have been hard for me since we lost Mom five years ago, and now the very thought of the holiday season makes me incredibly sad. The only thing I looked forward to about Thanksgiving was having Bailey home. She had been gone since the first week of June, when she left to be a camp counselor at Blue Lake Fine Arts Camp in Michigan. June to Thanksgiving is a LONG time!

It turned out that having her home was the BEST medicine ever for me. I could not believe how much I had missed having her around the house!

She spent most of her time with Lily on her lap, at least as much as Lily would allow. Lily seemed to be happy to have a second lap around the house. :)
 

 Unfortunately she had several big projects which were due just after break, so she spent most of the break with her nose in her laptop. But it was great just having her in the house!

We took time for a few things, including a visit to the salon...
 

...and putting up the Christmas tree. We got this pre-lit tree last year, so we were hoping the lights would actually work. (They did!)
 

It looked a little strange at first!
 

Tinsel was on duty as official Tree Inspector, making sure we followed instructions!
 

She even posed for a seasonal photo!
 

 Meanwhile, Lily waited under the table, not sure what to make of the whole deal. (Thankfully, she has outgrown her naughty "let's destroy the Christmas tree" stage!)
 

Bailey was impressed with how I organized all the ornaments last year! (Except for those I still haven't located! I'm obviously so organized that I can't find stuff! HA!)
 

In spite of the fact that half of the ornaments are still missing, we managed to decorate the tree! It was a nice way to spend our last evening of Thanksgiving break.
 
Having her here was such a treat! Now I'm finally looking forward to Christmas when we'll have her home for a little bit longer!
jp

03 December 2013

November Visit to IU

We ventured out to Indiana University in mid-November to attend one of our daughter's band concerts. As always, we packed a very short weekend quite full!

On Saturday evening, Bailey and I attended the Bands of America finals show at Lucas Oil stadium. I've been to plenty of marching band and drum corps shows in my life, but I was blown away by the talent of these high school students. It was a great evening!

 Our seats were so close we could see the pit quite well! This is not ideal from a visual standpoint, but the sound quality was amazing!
 
 
One of the shows featured a "shades of the day" theme with lampshades used as props. There was a giant lamp in the center of the field which turned on at the beginning of the show and turned off at the end.
Amazing shows all around. I was excited to attend my first BOA event!
 

The next day we attended a concert featuring two of our favorite musicians!
 

Two bands performed in the Musical Arts Center. As always, we were completely impressed by the quality of the performances.
 

There's our favorite percussionist at the back of the band! She's section leader this semester.
 

The MAC is such a beautiful venue!
 

After the performance, I ventured backstage where they were setting up for the opera, Hansel and Gretel. I loved looking at the scenery props!


But this was the best scenery of all! :)
 

 After the concert, we even got a private performance in one of the practice rooms at the new music building. What a fantastic facility!
 
 As always, it was a wonderful visit! I'm so glad Bailey will be at IU for a fifth year...I'm not ready for college to end just yet!
jp

01 December 2013

Kitting Around!

 (Sorry for the uncropped borders and awkward spacing in this post! This the third time I've uploaded pictures to this post only to have them disappear and I'm done tinkering with it! GRRRR...Blogger!)

I've had several classes to prepare for in recent weeks. I just finished "kitting" (yes, that's a word...at least in my circles!) for my December Graphic 45 card classes. I've been doing these classes monthly since March, with plans to continue on through next year. We've had a great time in class each month, and preparing the kits has certainly kept me busy! I'm not KITTING! (Couldn't resist that one...) 

 When I make kits, I plan for two days of work. Sometimes it takes less than that...sometimes more (depending on the number of kits) but that's a good average for most classes. That does not include writing instructions, which always takes me a few hours!

This time, since Bailey was home for Thanksgiving break, I decided to cut all of my paper at Memory Bound and bring it home to assemble. Even though she was super busy with projects all week, I wanted to be in the same room with her as much as I could! It's a Mom Thing. :)

 Here is the card set I'm teaching in December. We will be making six detailed cards in two hours time. In order to ensure that we complete our projects, many pieces need to be pre-cut.


  I started with a very long list of everything I needed to cut. There is nothing like checking off things on a list! I have been known to write tasks on the list just so I can check them off!

 After a few hours of cutting, I boxed it all up and brought it home. I know it may sound strange, but I love seeing all the cut pieces rubber-banded together!


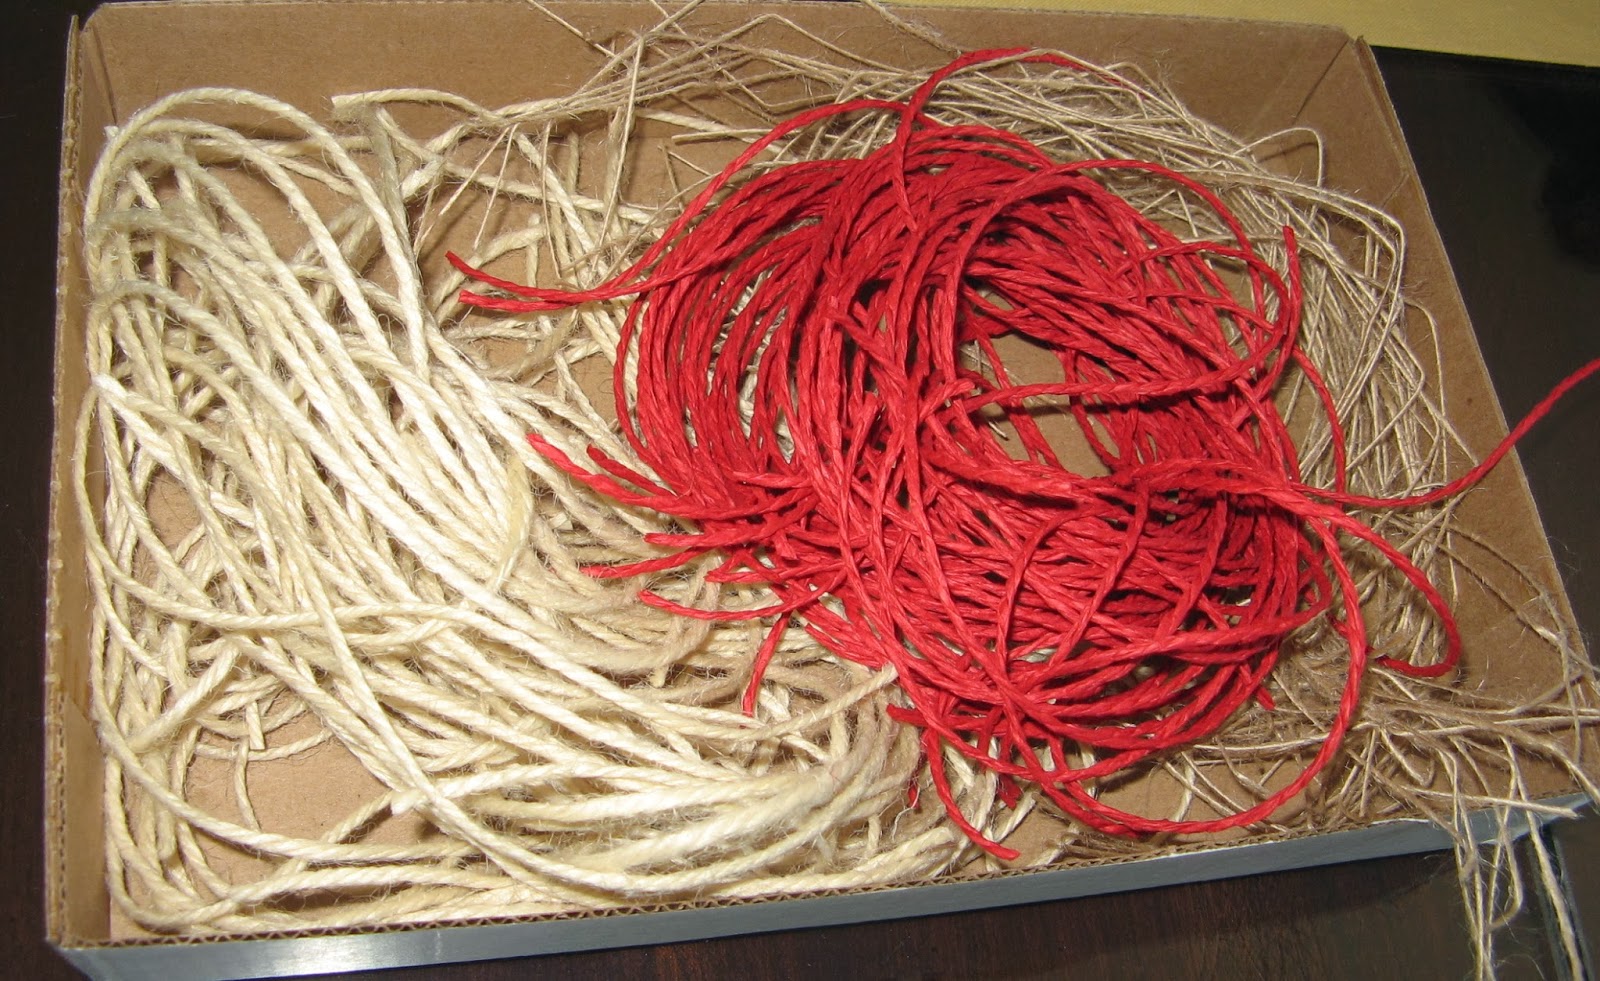
 In addition to the big bags I planned to assemble, I prepared smaller bags for dimensional embellishments like ribbon, twine, and buttons.


For obvious (CAT-RELATED!) reasons, I usually avoid packing twine at home!


 First I organized all the cut pieces by card. I usually pack all the paper supplies for each card in an envelope, then stack them in the kit in the order we'll make them in class.


 I gathered everything for each card and assembled it. Here are the pieces for one of the six cards we'll be making in class.


 After I pack all of one card, I stack them all together. Here are three different cards, ready to go.


Meanwhile, I found a cat-free zone and finished the twine bags!


  A good old metal tray is very handy when working on kits. The tray keeps everything corralled and provides a portable work surface which can easily be lifted away from kitty paws. In this case, I was able to carry it over to the couch so as to sit very close to my daughter while she worked on her projects! :)


 After I finished assembling the cards, I stacked them for each kit in the order I plan to teach them in class.


I rubber-banded them together and tucked them into the large bag, along with the twine bag and a few other supplies.

Here's one of the boxes of completed kits! I get excited when I see them all ready to go! It's kind of like getting a new box of crayons or markers. LOL


 No "kitting" around: I'm looking forward to two fun classes! :)

Janet